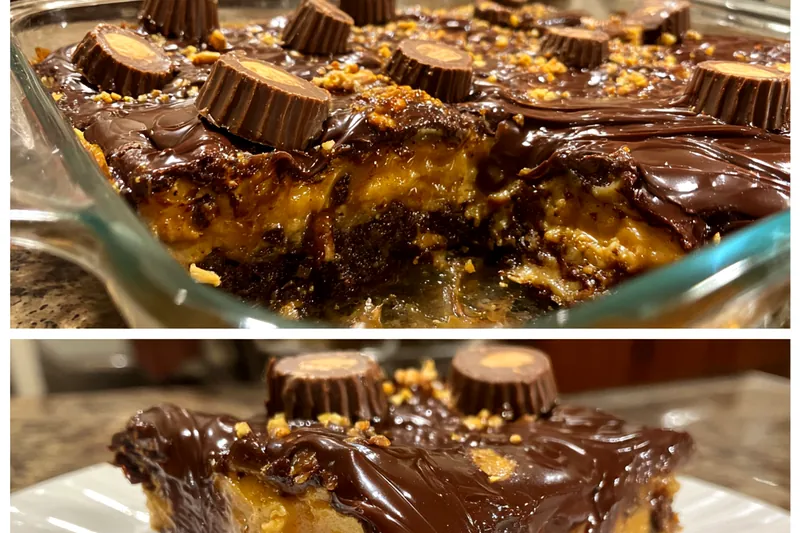
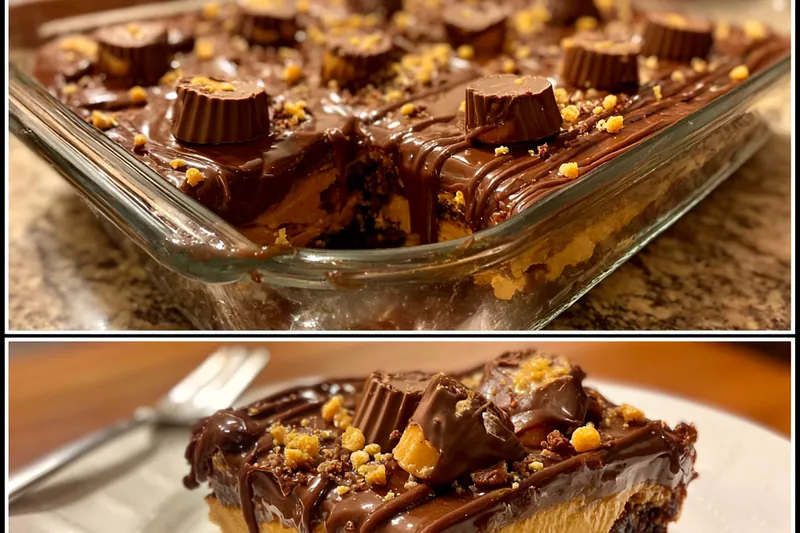
Peanut Butter Chocolate Layer Cake
This Peanut Butter Chocolate Layer Cake is a dream come true for dessert lovers. With its rich chocolate layers and creamy peanut butter frosting, it's a perfect treat for any occasion. Whether you're celebrating a birthday or just indulging yourself, this cake is sure to impress. The combination of flavors and textures makes every bite irresistible.


Why This Peanut Butter Chocolate Layer Cake Recipe Works
This Peanut Butter Chocolate Layer Cake is special because it combines two beloved flavors: chocolate and peanut butter. The moist cake layers are rich in chocolate, while the frosting adds a smooth, nutty twist. Each slice is a harmonious blend of sweet and savory, making it a favorite for both kids and adults.
The technique of incorporating boiling water into the cake batter keeps the cake incredibly moist. This method also enhances the chocolate flavor, making each bite decadent. The creamy peanut butter frosting complements the cake perfectly, adding an extra layer of deliciousness.
💡 Professional Tip
For a richer flavor, consider using dark chocolate cocoa powder instead of regular cocoa powder. Also, allow your cake layers to cool completely before frosting to prevent the frosting from melting.
Frequently Asked Questions
Yes, you can make the cake layers ahead of time. Just wrap them tightly in plastic wrap and store them in the refrigerator for up to 2 days. You can also freeze the layers for longer storage. Just make sure to let them thaw completely before frosting.
If you don’t have heavy cream, you can use whole milk mixed with a bit of butter to achieve a similar fat content. Alternatively, coconut cream can be a dairy-free option that provides a rich texture.
The cake is done when a toothpick inserted into the center comes out clean or with a few moist crumbs. If the toothpick comes out with wet batter, it needs more baking time. Keep an eye on it towards the end of the baking time.
Yes, you can freeze the cake. It's best to freeze the layers separately without frosting to maintain texture. Wrap the cooled layers in plastic wrap and aluminum foil before placing them in the freezer. They can be stored for up to 3 months.
This cake pairs beautifully with a scoop of vanilla ice cream or a dollop of whipped cream. Fresh berries can add a nice tartness that complements the sweetness of the cake. For an extra treat, drizzle with chocolate sauce or caramel.
The cake will last in the fridge for about 3-4 days when stored in an airtight container. If the cake is frosted, it's best to keep it covered to prevent the frosting from drying out.
Absolutely! You can prepare the cake layers in advance and store them in the refrigerator or freezer. Frosting can also be made ahead of time and stored in the fridge until you're ready to assemble the cake.
If you'd like to enjoy the cake warm, you can microwave a slice for about 10-15 seconds. Just be careful not to overheat it, as this can dry out the cake. Alternatively, you can warm it in an oven set to low heat for a few minutes.
Recipe Troubleshooting Guide
Too Dry
Problem: If the cake turns out dry, it may be overbaked or not enough liquid was used.
Solution: To avoid this, ensure you’re measuring your ingredients accurately and keep a close eye on the baking time. A toothpick test is a good way to check for doneness.
Not Crispy Enough
Problem: Sometimes the cake may not have a nice texture on the outside.
Solution: Make sure your oven is properly preheated and avoid opening the oven door frequently to maintain consistent heat during baking.
Overcooked
Problem: Overcooked cake can become crumbly and dry.
Prevention: To prevent overcooking, always set a timer and check the cake for doneness a few minutes before the recommended time.
Undercooked Center
Problem: An undercooked center can lead to a gooey texture.
Recovery: If you notice this, you can cover the cake with foil and return it to the oven for additional baking time, checking frequently.
Burnt Exterior
Problem: A burnt exterior indicates the cake was baked too long or at too high of a temperature.
Prevention: To prevent this, try lowering your oven temperature slightly or using the middle rack for even baking.
Flavor Balance
Too Sweet: If the cake is too sweet, consider adding a pinch of salt or serving it with a tart fruit.
Too Salty: If too salty, balance the flavor with extra frosting or a sweet glaze.
Bland: Bland cake can benefit from additional vanilla or a splash of espresso to enhance chocolate flavors.
Essential Ingredients for Peanut Butter Chocolate Layer Cake
The key ingredients in this recipe include high-quality cocoa powder and creamy peanut butter. These ingredients provide the rich flavor that sets this cake apart from others. Using fresh eggs and whole milk enhances the moisture and contributes to a tender crumb.
Opt for organic ingredients when possible, as they often yield better flavor and texture. Freshly sourced eggs and dairy can significantly impact the final result of your cake.
Essential Ingredient Notes
- Peanut Butter: Use creamy peanut butter for a smooth frosting. Natural peanut butter can also be used for a different flavor profile, just ensure it’s well-stirred before measuring.
- Cocoa Powder: Choose high-quality unsweetened cocoa powder for the best chocolate flavor. Dutch-process cocoa can provide a richer taste and darker color.
- Butter: Ensure your butter is at room temperature for easy mixing, which helps create a light and fluffy frosting.
Step-by-Step Cooking Process
Making Peanut Butter Chocolate Layer Cake involves a few key steps, from mixing the batter to frosting the layers. It’s essential to follow the instructions carefully to achieve a perfect cake.
By ensuring each layer is baked evenly and cooled properly before frosting, you can create a stunning cake that looks as good as it tastes.
Key Technique for Perfect Peanut Butter Chocolate Layer Cake
The key to a perfect Peanut Butter Chocolate Layer Cake is the incorporation of boiling water into the batter. This not only helps to activate the baking soda but also ensures a moist and tender cake. It's a technique often overlooked but essential for achieving the desired texture.
Peanut Butter Chocolate Layer Cake
📋 Ingredients
Main Ingredients
- 1 cup butterRoom temperature
- 1 cup creamy peanut butterSmooth
- 3 cups powdered sugarSifted
- 1/4 cup heavy creamFor consistency
For the Sauce
- 1 3/4 cups all-purpose flourFor structure
- 1 3/4 cups granulated sugarFor sweetness
- 3/4 cup unsweetened cocoa powderRich chocolate flavor
- 1 1/2 teaspoons baking powderLeavening agent
- 1 1/2 teaspoons baking sodaLeavening agent
- 1 teaspoon saltEnhances flavors
- 2 large eggsFor binding
- 1 cup whole milkAdds moisture
- 1/2 cup vegetable oilFor richness
- 2 teaspoons vanilla extractFlavor enhancer
- 1 cup boiling waterTo thin the batter
Instructions
Preheat Oven
Preheat your oven to 350°F (175°C). Grease and flour two 9-inch round cake pans.
Mix Dry Ingredients
In a large bowl, combine flour, sugar, cocoa powder, baking powder, baking soda, and salt.
Add Wet Ingredients
Add eggs, milk, oil, and vanilla to the dry ingredients and mix until well combined.
Incorporate Boiling Water
Carefully stir in boiling water until the batter is thin. Pour evenly into prepared pans.
Bake the Cakes
Bake in the preheated oven for 30-35 minutes, or until a toothpick inserted into the center comes out clean.
Cool the Cakes
Remove from the oven and allow to cool in the pans for 10 minutes, then turn out onto wire racks to cool completely.
Prepare Peanut Butter Frosting
In a bowl, beat together peanut butter, powdered sugar, and softened butter until smooth. Add heavy cream and mix until fluffy.
Assemble the Cake
Place one cake layer on a serving plate, spread frosting on top, then add the second layer and frost the top and sides.
Recipe Notes & Tips
Storage Tips
Store the Peanut Butter Chocolate Layer Cake in an airtight container in the refrigerator to keep it fresh. If you have leftover slices, wrap them in plastic wrap to prevent drying out. The cake can last for about 3-4 days in the fridge.
Serving Suggestions
Serve this cake with a scoop of vanilla ice cream or a dollop of whipped cream for an extra treat. Fresh berries on the side can add a nice tartness that complements the sweetness of the cake. Chocolate sauce drizzled over the top can elevate the presentation.
Recipe Variations
For a different flavor, try adding a layer of raspberry jam between the cake layers for a fruity twist. You can also experiment with different types of nut butter in the frosting, such as almond or cashew butter, for a unique taste.