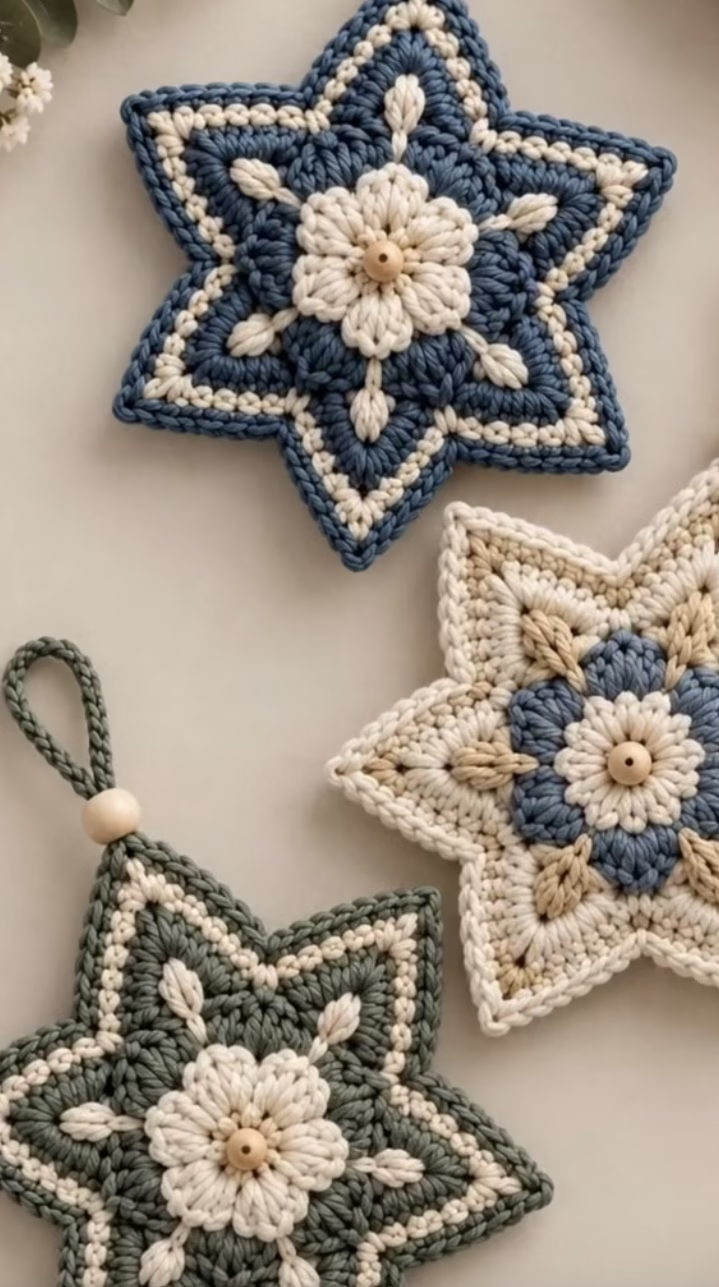
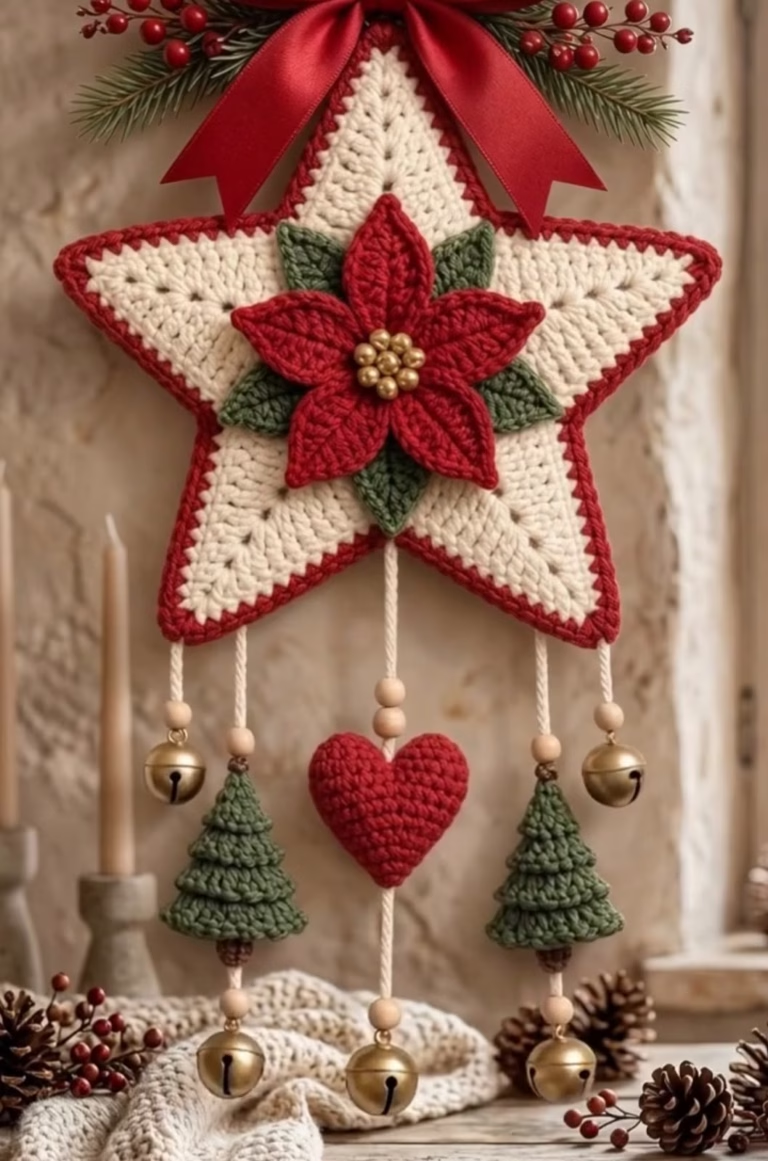
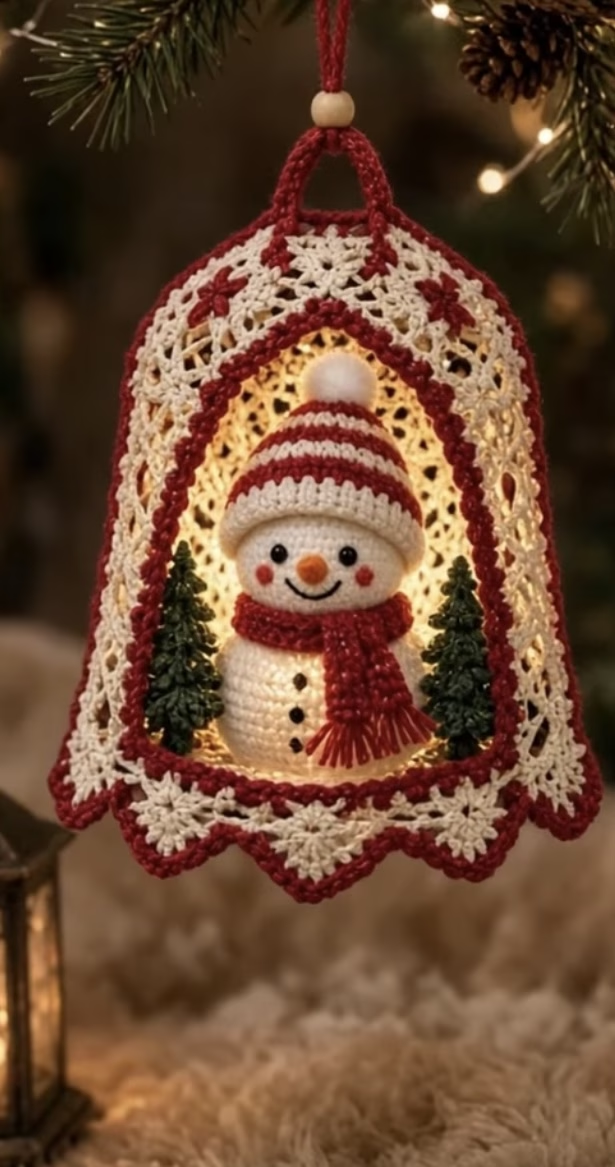
Nothing compares with the charm of handmade holiday decorations, and these crochet star ornaments deliver classic spirit and understated elegance. This festive project features a radiant five-pointed star motif, crocheted in vibrant red with eye-catching gold edging for a touch of holiday sparkle. The design showcases clean, symmetrical star points and a neat openwork center, making it ideal for tree ornaments, garlands, gift embellishments, or table decor throughout the winter season.
Visually, the ornament is vivid and cheerful: the main body of the star is a traditional Christmas red, forming crisp points and gentle indents, with a slender round of metallic gold that outlines the star and adds contrast. The surface texture highlights classic crochet stitches, resulting in a firm yet flexible motif. This pattern is simple to personalize with different yarns and colorways, making it a pleasing and endlessly customizable holiday project.
Not only is this ornament versatile in its uses – from standing alone as a statement piece on a tree, to being joined into festive garlands, or attached to wrapped gifts – but it’s also a joy to make and perfect for batch crafting. The clear, repetitive style of the stitches provides relaxation while the striking result makes a delightful handmade keepsake.
Project Overview
This star motif is worked from the center outward in joined rounds. The construction involves forming a small open center, building up the five-pointed symmetrical star shape, then finishing with a decorative contrasting edging. The star ornament is made all in one piece, with the gold edge worked directly onto the red body in a final round. Optionally, you can add a loop for hanging.
Skill Level
Advanced Beginner. While the overall pattern uses basic crochet stitches (chains, single crochet, double crochet), shaping the crisp points requires attentive increases and joining at the end of each round. Minimal sewing is required. Confident beginners will enjoy the challenge of shaping and color changes, while more advanced crocheters will find it easy to batch-produce these stars.
Materials
- Worsted weight (medium/4) cotton or acrylic yarn in two colors:
- Main Color (red): approximately 12 g (25 yards) per star
- Accent Color (gold or metallic): approximately 3 g (7 yards) per star
- US size G-6 (4.0 mm) crochet hook
(adjust if your tension is very tight or loose) - Tapestry needle (for weaving in ends)
- Sharp scissors
- Stitch marker (to mark the beginning of each round, optional)
- (Optional) Metallic gold embroidery thread or cord for hanging loop
- (Optional) Light spray starch or fabric stiffener if you want a stiffer ornament for hanging
Finished Size
Each completed star ornament measures approximately 10 cm (4 inches) from point to point. Exact size depends on yarn and tension.
To adjust the finished size, use thicker or thinner yarn and a matching hook. Double-stranding creates a big statement star, while using crochet thread and a steel hook yields a petite, delicate version.
Gauge
Gauge is not critical for this project, but for reference, after Round 2, the motif should measure about 3.5 cm (1.5 inches) across. Small gauge differences will slightly change the finished size of the ornament.
Stitches and Abbreviations
- ch – chain
- sl st – slip stitch
- sc – single crochet
- dc – double crochet
- tr – treble crochet
- MR – magic ring
- st(s) – stitch(es)
- sp – space
- rep – repeat
- FO – fasten off
Important Pattern Notes
- Pattern is worked in joined rounds: always join each round with a sl st unless otherwise noted.
- Chains at the beginning of rounds count as a stitch unless specified.
- Change to gold edging after main red star is finished.
- Work loosely when transitioning between points and valleys for best results.
- Use a stitch marker in the first st of each round for easy tracking.
- Crochet through both loops unless a special instruction is given.
- For a neater look, weave in color ends toward the rear of the motif.
Detailed Crochet Pattern
Part 1: Center
- Round 1: With red, MR (or ch 4 and join to form a ring), ch 2 (counts as first dc), work 9 dc into ring. Join with sl st to top of ch-2. (10 sts)
- Round 2: Ch 2 (counts as dc), dc in same st, ch 1, *2 dc in next st, ch 1; rep from * around (10 sets of 2 dc, 10 ch-1 sps). Join with sl st to top of ch-2.
Part 2: Forming the Star Points
- Round 3: Sl st into next dc, sl st into next ch-1 sp. *Ch 5, sc in 2nd ch from hook, hdc in next ch, dc in next ch, tr in last ch. (This forms a decreasing line up the point.) Sk next 2 dc, sl st into next ch-1 sp; rep from * around for 5 total points. Join with a sl st at the base of the first point. (5 points created)
Helpful note: Each point is a ch-5 staircase (sc, hdc, dc, tr) worked up, then joined back to the base ring via sl st into next ch-1 sp. - Round 4: Ch 1, working along the points and dips: *(sc, hdc, dc) up the side of the point (into the side of the tr, dc, hdc from the previous point row), 3 dc in tip of tr for point, (dc, hdc, sc) down the opposite side of the point, sl st securely in ring at point base (center valley); rep from * for each of the 5 points. Join with sl st. FO red. (Each star point and valley now defined.)
Part 3: Gold Edging
- Join gold yarn at the base of any point.
Ch 1, *sc evenly up side of point (3 sc), (sc, ch 2, sc) in tr tip (point), sc evenly down side of point (3 sc), sl st in center valley (where two points meet); rep from * around for all 5 points. Join with sl st to first sc. FO gold, leaving a 10-15 cm (4-6 in) tail for weaving.
Part 4: Hanging Loop (Optional)
- With gold or desired color, join at the tip of one star point. Ch 20 (for 2.5 in/6 cm loop), sl st back into same point. FO. Weave in ends securely, ensuring the loop is at the tip and pulls straight.
Assembly and Finishing
- Weave in all yarn tails with a tapestry needle on the wrong side of the star, distributing ends toward the center to keep points tidy.
- Finger-shape each point for definition. Optionally, pin the finished piece to a blocking board, mist lightly with water (or use a starch spray for extra crispness), and allow to dry flat for best results.
- If working multiple stars for a garland, thread a long cord or thin ribbon through the top points, spacing as desired.
- Ensure the points sit symmetrically and that the gold edge is visible from the front for a professional finish.
Customization Ideas
- Color Play: Try classic blue and silver for a wintry look, or use white with silver/gold trim for a more neutral holiday style.
- Yarn Weight: Make mini stars with cotton crochet thread and a 2 mm hook, or jumbo statement stars with chunky yarn and a larger hook.
- Alternative Uses: Attach to gifts as a special tag, sew to a holiday pillow or wreath, use as a festive coaster, or string together for a magical garland. Attach to a handbag or tote for a cheerful accent.
- Appliqué: Sew a finished star onto a stocking, table runner, or sweater for custom holiday flair.
Troubleshooting Tips
- Curling: If your star curls inward, block it with steam or starch and flatten under a book while it dries.
- Uneven Edges: Keep your stitch tension even, especially when forming points. Count your stitches on each side of the point in every round.
- Motif Too Large/Small: Adjust hook size up or down, or switch yarn thickness. For a firmer star, use a smaller hook than recommended for your yarn.
- Loose Color Changes: Securely weave in the gold and red ends, or use the yarn tails for a tiny whip stitch along the edge to anchor if needed.
- Uneven Points: Pause after each round to gently pull and shape each point before proceeding.
Care Instructions
If using cotton or acrylic yarn, spot clean gently with cool water and mild soap. Allow to air dry flat. Store ornaments flat or between tissue in a box. If using metallic or specialty yarn for the border, avoid machine washing.
Final Notes
Before finishing each star, count your stitches on each point to ensure symmetry. Gentle shaping and blocking will help each point stand proud and the gold edge to gleam. Use the image as an inspiration, but feel free to get creative and make the star your own with personalized colors, finishes, or hanging styles. Happy holiday crocheting!