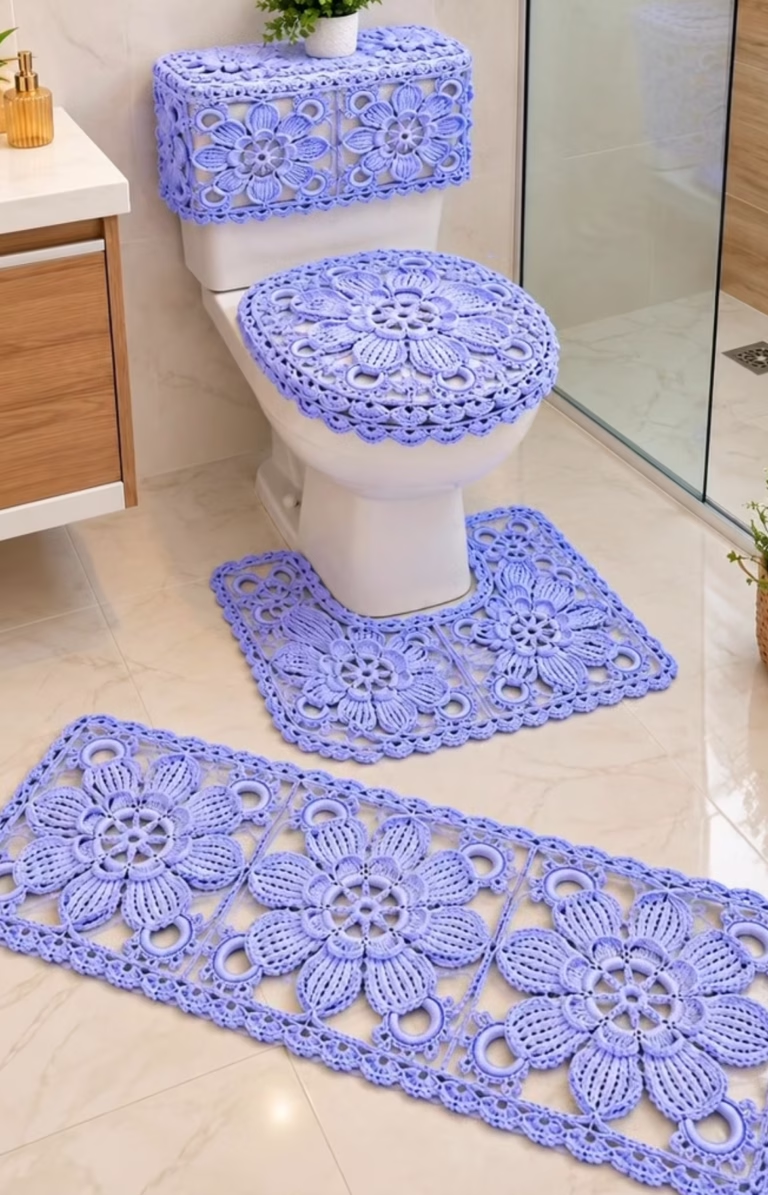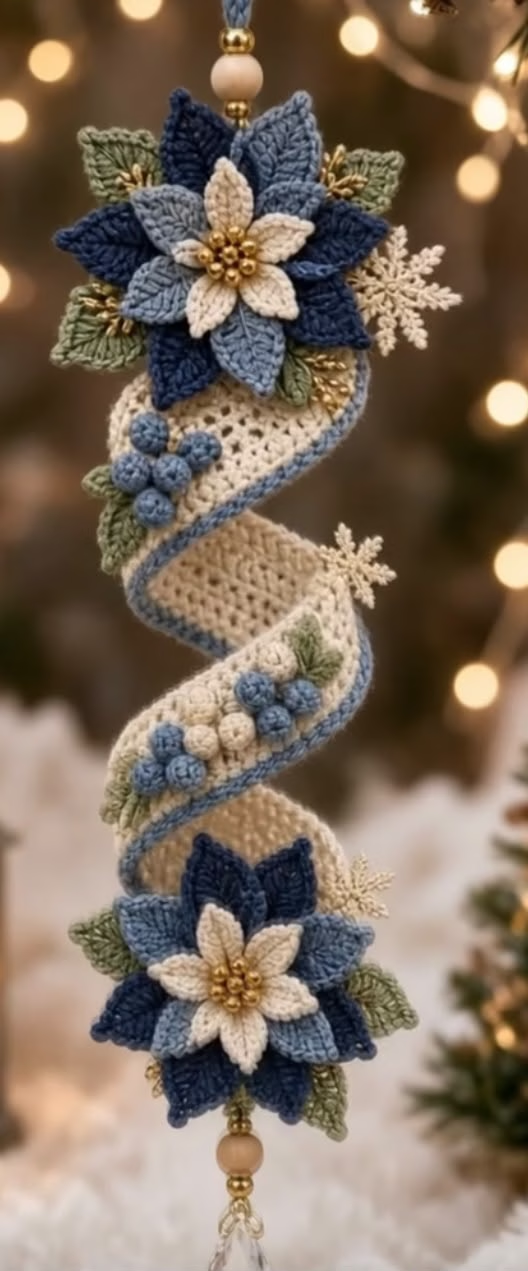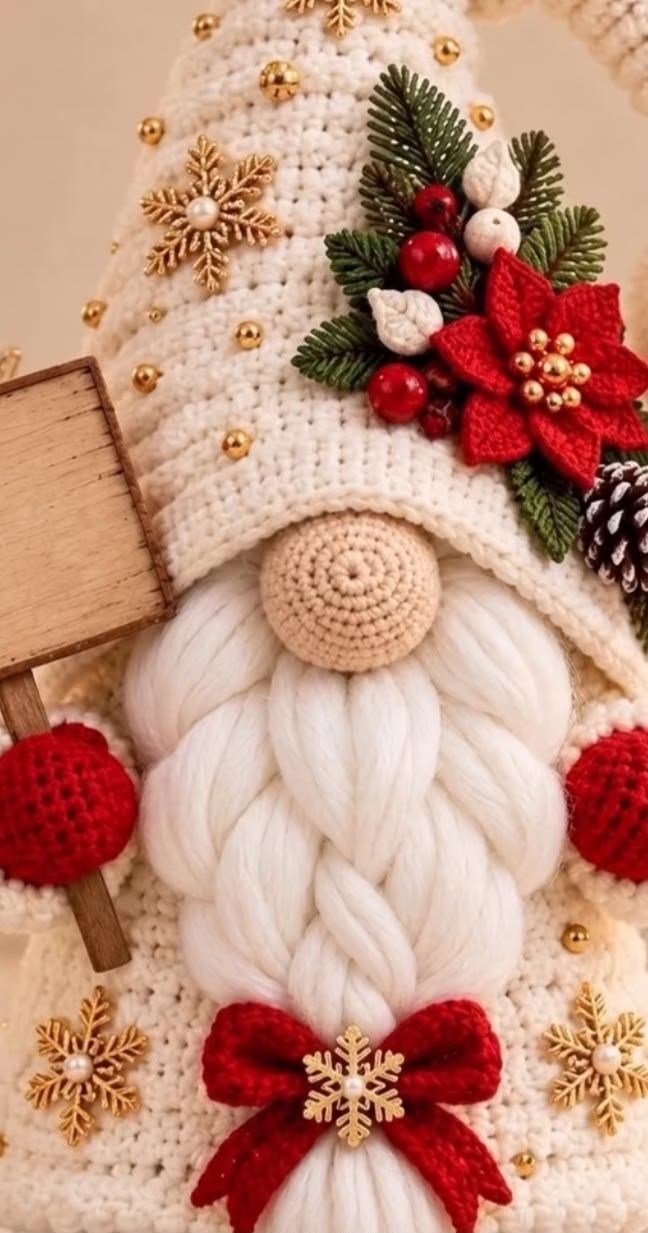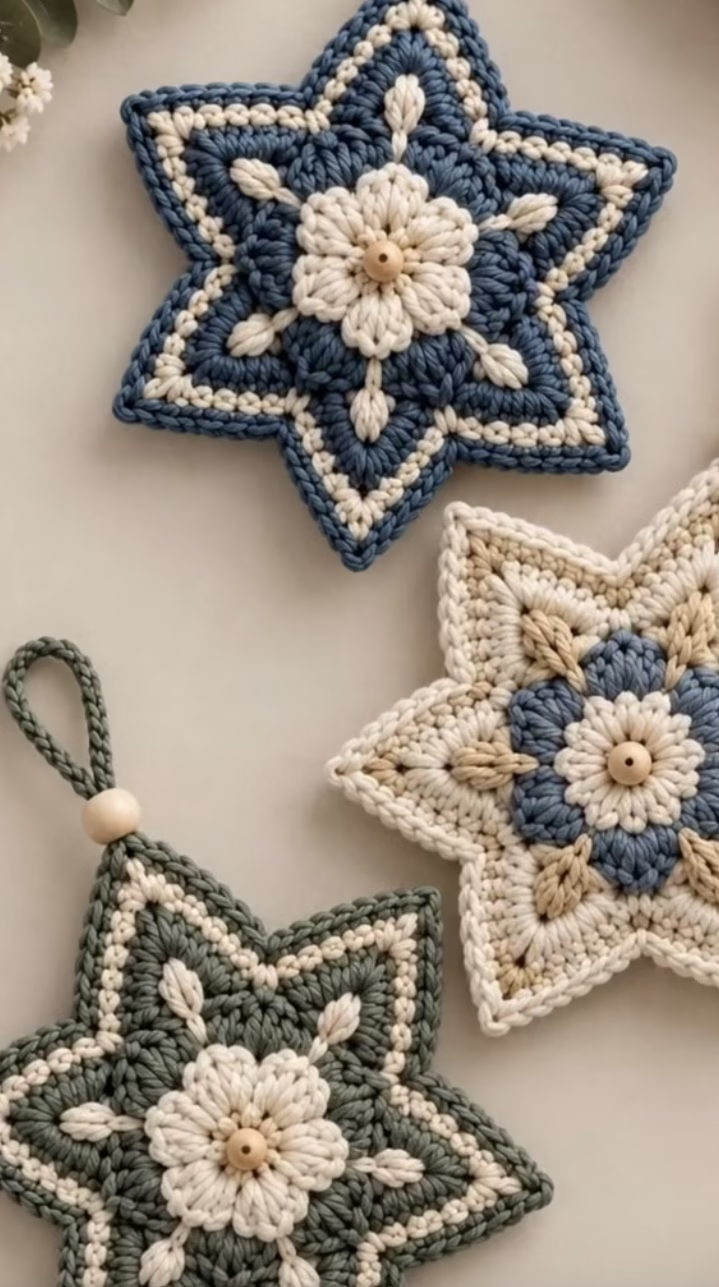
If you’re searching for a unique, eye-catching crochet project that blends floral charm with geometric style, this chunky star flower motif ornament is ideal. Featuring bold, six-pointed star shapes in soothing, natural colors, each motif glows with a raised petal center and playful botanical accents. Their soft, tactile texture and contrasting hues make them equally perfect as ornaments, coasters, wall art, or boho-inspired decor pieces. Each one becomes a stand-out finished item that highlights both your craftsmanship and creative flair.
This motif showcases a striking central flower, worked in a rich cream shade, surrounded by a multidimensional star in coordinating colors like deep green, blue, or tan. Accentuated with plump leaf-like appliqués and a natural wooden bead at the centerpiece, every star radiates warmth and a handcrafted feel. The thick yarn and crisp stitch definition make these ornaments both sturdy and decorative, suitable for hanging, gifting, or everyday display. Fast and satisfying, this project is interesting for anyone who enjoys texture and detail in crochet motifs.
Project Overview
This motif is constructed in a series of concentric rounds, starting at the floral center and radiating outward into a six-pointed star using strategic increases. Petal or leaf appliqués are added between the star arms in a separate round. A final border round frames the motif, and a simple chain loop with bead (optional) makes it easy to hang. Crochet is worked in joined rounds, with separate pieces assembled at the end for extra texture and interest. Each ornament can be made in your choice of color combinations for a personalized touch.
Skill Level
Advanced Beginner to Intermediate: This project uses basic stitches like single crochet, half double crochet, double crochet, and slip stitch, plus some increases, color changes, and simple leaf appliqué techniques. Those comfortable working in the round and reading a pattern will enjoy the process. The motif is straightforward enough for adventurous beginners ready to try something more decorative, yet interesting enough for experienced crocheters seeking a quick, giftable item.
Materials
- Worsted weight cotton yarn (approx. #4, about 45–55 yards each in three colors: Color A – Flower/center, Color B – Main star, Color C – Accent/contrast)
- Suggested yarn: 100% cotton for stitch definition and a sturdy finish
- Crochet hook: US size H/8 (5.0 mm) or size needed for a firm fabric
- Tapestry (yarn) needle
- Sharp scissors
- Small wooden bead (about 10–12 mm diameter, optional – for center embellishment)
- Stitch markers (optional, for rounds)
- Small crochet hook for weaving in ends (optional)
Finished Size
- Approximately 15 cm (6 inches) across from star point to star point
- Easily adjustable by changing hook size or yarn weight (see notes in gauge and customization sections)
Gauge
Gauge is not critical for this project, but for reference: Rounds 1–4 should measure about 6 cm (2.25 in) across in worsted weight cotton with a 5.0 mm hook. Small differences in gauge will slightly affect finished motif size; use a firmer tension for a neat, chunky texture.
Stitches and Abbreviations
- ch – chain
- sl st – slip stitch
- sc – single crochet
- hdc – half double crochet
- dc – double crochet
- tr – treble crochet
- MR – magic ring
- inc – increase (2 sts in same st)
- sk – skip
- st(s) – stitch(es)
Important Pattern Notes
- Chains at the beginning of rounds count as a stitch only if specified.
- Work rounds with right side always facing.
- Join rounds with a slip stitch unless otherwise stated.
- Color changes at the end of rounds: complete the final slip stitch with the new color and continue.
- Use stitch markers to denote the first stitch of each round if helpful.
- For best results, maintain even tension for crisp star points.
Detailed Crochet Pattern
Part 1: Flower Center (Color A)
- Round 1: With Color A, make a MR, ch 1 (does not count as st), work 12 sc into ring. Join with sl st to first sc. (12 sts)
- Round 2: Ch 2 (counts as first hdc), 1 hdc in same st, 2 hdc in each st around. Join with sl st to top of ch-2. (24 sts)
- Round 3: Work 1 sc in next st, (ch 3, sl st in same st) to make a petal, *sc in next 2 sts, (ch 3, sl st in same st); repeat from * around (you should have 6 petals). Join with sl st to first sc. Fasten off Color A. (6 petals separated by 2 sc each)
Part 2: Main Star (Color B)
- Round 4: Join Color B with a sl st in any ch-3 loop of a petal. (ch 2, 2 dc, ch 2, 3 dc) all in the loop (first ‘star point’), *sk 2 sts, (3 dc, ch 2, 3 dc) in next ch-3 loop; repeat from * around (6 ‘star points’). Join with sl st to top of ch-2. (Each side: 6 clusters of 3 dc, ch 2, 3 dc)
- Round 5: Sl st into next dc, into next ch-2 sp, ch 2 (counts as hdc), (2 hdc, ch 2, 2 hdc) in same ch-2 sp, *hdc in next 3 dc, sc in next 3 dc (between star points), hdc in next 3 dc, (2 hdc, ch 2, 2 hdc) in next ch-2 sp; repeat from * around. Join with sl st to top of ch-2. (Increased corners for star shaping)
Part 3: Contrast Stripe & Shaping (Color C)
- Round 6: Join Color C with a sl st in any ch-2 point sp, ch 1, (sc, ch 2, sc) in each ch-2 point sp (6 points), *sc evenly in each st along the sides (approx. 5–6 sc), work (sc, ch 2, sc) in next ch-2 sp; repeat from * around. Join with sl st to first sc. Fasten off Color C.
Part 4: Final Border (Repeat Main Color or Use Accent)
- Round 7: Join Color B (or your accent color of choice) with a sl st in any ch-2 point, ch 1, (hdc, ch 2, hdc) in each ch-2 point, sc in each st along the sides. Join with sl st to first hdc. Fasten off and weave in ends. (Motif is now a crisp, six-pointed star)
Part 5: Petal/Leaf Appliqués (Color A or C)
- Make 6 leaves/petals:
- With preferred accent color (A or C), ch 6, sc in 2nd ch from hook, hdc in next, dc in next 2, tr in last, ch 1, sl st in same st. Fasten off, leaving long tail for sewing.
- Sew or crochet one leaf between each star point (spaced evenly in the ‘valleys’ of the star), shaping slightly with your fingers as you place.
Part 6: Hanging Loop (optional)
- With any color, ch 30 (or desired length for loop), sl st to join to same point at top of one star arm. Pull both ends through a wooden bead, tie securely. Weave in all ends.
Part 7: Center Button Embellishment (optional)
- Sew a wooden bead to the center of the flower using yarn or thread, making sure it is secure.
Assembly and Finishing
- Weave in all yarn ends securely with a tapestry needle, hiding them inside stitches.
- Block your motif if desired: lightly steam and shape corners to sharpen points and flatten the piece.
- Sew leaves securely in between star arms; shape with fingers to keep the motif symmetric.
- If using as a hanging ornament, check the loop and make sure the bead is fastened well.
- If you prefer a stiffer ornament, consider spraying lightly with starch and letting dry flat.
Customization Ideas
- Switch up the color scheme: try festive holiday colors, pastels, or bold contrasts.
- Change yarn weight for different sizes – DK or chunky yarn for ornaments, lighter yarn for appliqués.
- Omit the bead for a child-safe version, or use a felt circle for a soft center.
- Use as a coaster (with sturdy cotton yarn), wall hanging, garland component, bag applique, or even blanket squares—simply flatten more while blocking.
- Add more (or fewer) stars by working additional rounds between the points for a larger motif.
- Stitch several motifs together to create a table runner or festive bunting.
Troubleshooting Tips
- Motif curling: If the star curls up, use a larger hook or loosen tension slightly; steam block to flatten.
- Uneven edges: Count stitches carefully between points and sides; mark corners with a stitch marker if needed.
- Motif too large/small: Adjust hook size or try a gauge swatch before starting.
- Loose color changes/sloppy joins: Complete the final slip stitch with the new color for a neat transition; weave ends tightly.
- Misshapen star points: Pin corners out evenly when blocking and adjust tension around each point.
- Petal appliqués wonky: Use blocking and finger shaping before sewing down firmly.
Care Instructions
- Hand wash gently in cold or lukewarm water with mild soap.
- Reshape and lay flat to dry.
- Avoid twisting or wringing for best results; occasional gentle steam for reshaping is fine.
- If item gets creased, lightly steam and re-block as needed, especially after storage.
Final Notes
As you work through the rounds, take time to check stitch counts and adjust as needed for symmetry. Consistent tension and blocking will help keep your star neat and crisp, enhancing both texture and colorwork. Use the photos as a guide for color placement and positioning of leaves and center bead. Enjoy making each motif unique—they make gorgeous gifts, decorative accents, or a creative way to use up leftover yarns. Happy crocheting!