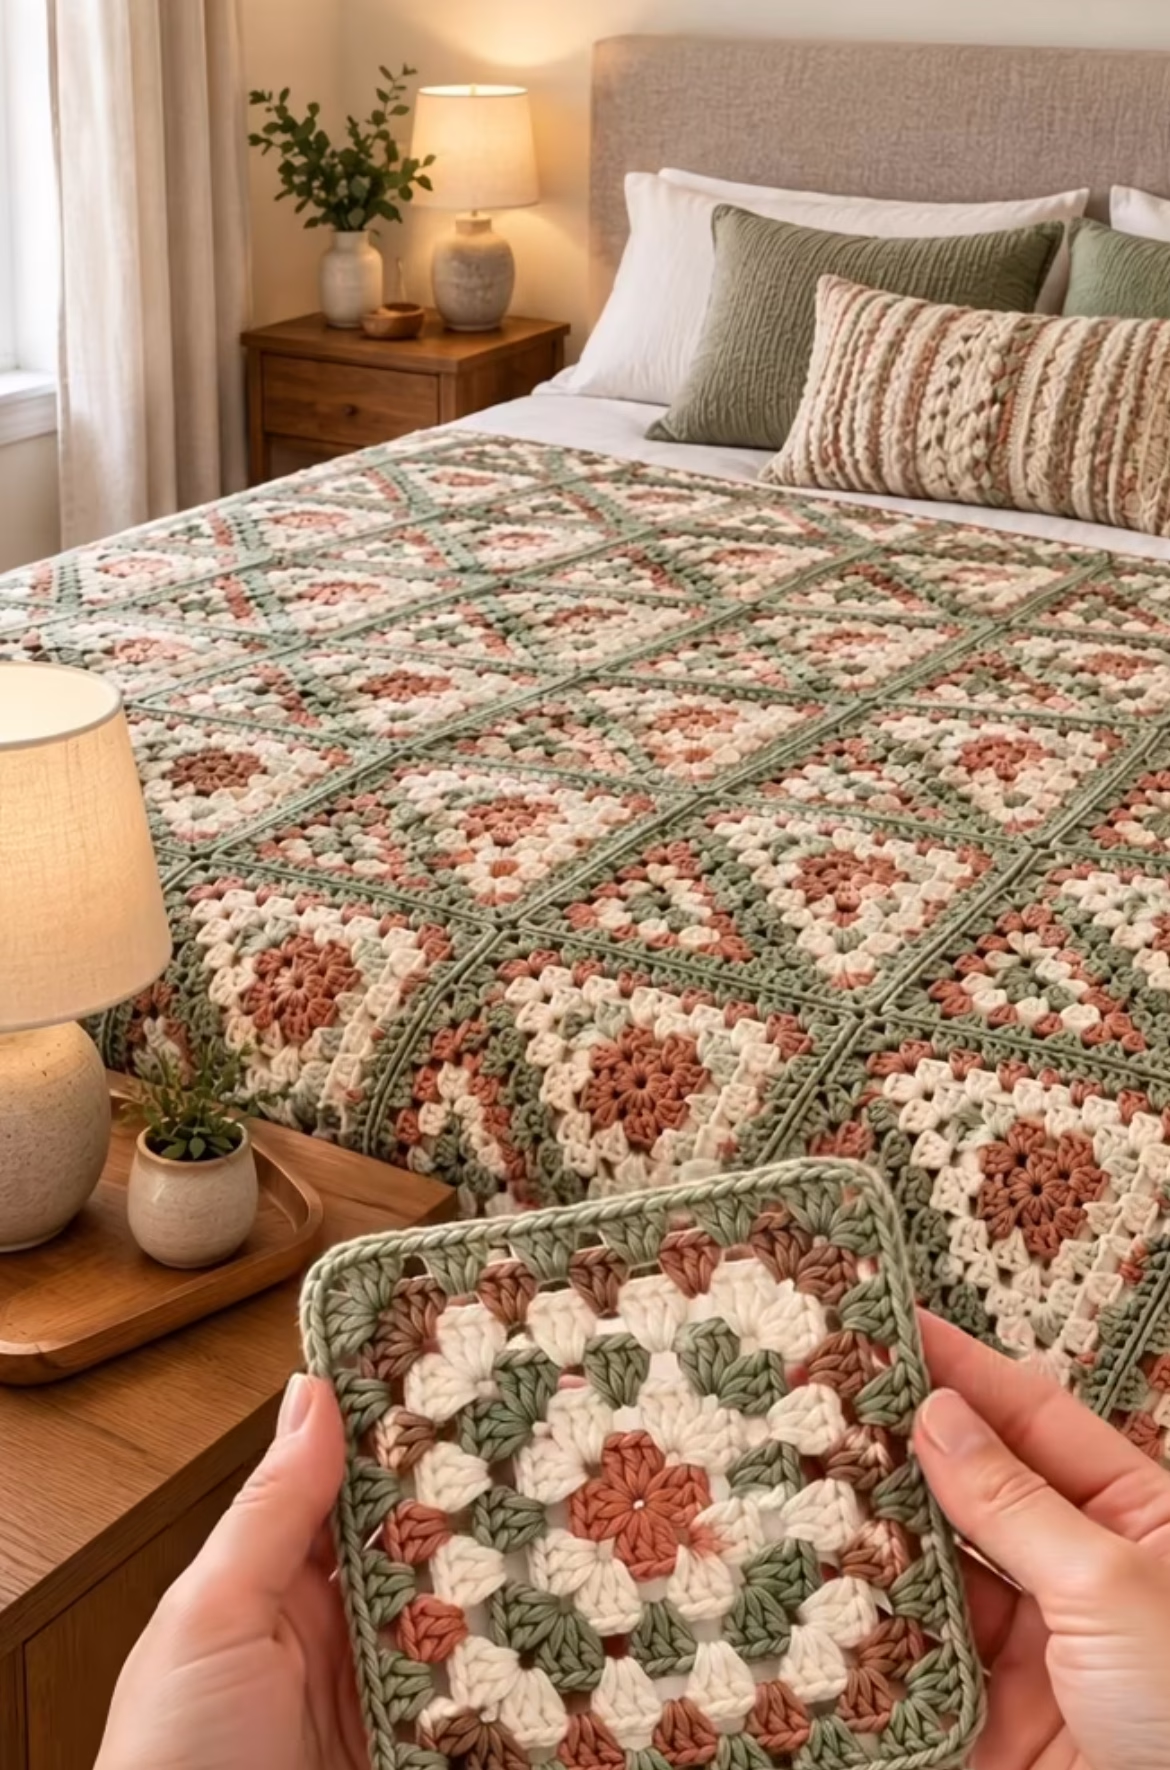
Bring vintage charm and cozy comfort into your home with a classic crochet granny square blanket. This design features soft earth tones—such as sage green, terracotta, and creamy beige—arranged in timeless, geometric squares. The blanket’s texture is created by layers of clusters in each square, giving a plush finish ideal for draping across a bed or cozying up on the sofa. Whether adorning your bedroom, gifting to a loved one, or bringing a touch of handmade style to your living room, this project is both practical and aesthetically pleasing. Its modular construction also offers great flexibility for customizing size and color scheme.
The gentle palette and iconic squares evoke a sense of nostalgia and comfort, while the crisp square motifs deliver a modern, clean-lined appeal. Each motif is surrounded by contrasting colors for added dimension, with neat, joined edges ensuring a unified design. Perfect for chilly nights and lazy afternoons, this blanket will soon become a household favorite. Enjoy the rhythmic meditative process of working up each square and watch the blanket grow as you join them together.
Project Overview
This crochet blanket is constructed from numerous individual granny squares, each worked in rounds. Squares are made separately and later joined to form the blanket. The border on each square is made in a contrasting shade, and the final assembly includes sewing or crocheting squares together, finished with a neat, wide border to harmonize the entire piece. This modular structure makes it easy to adjust the finished size by adding or reducing the number of squares.
Skill Level
Advanced Beginner. This project requires comfort with basic crochet stitches (chain, double crochet, slip stitch) and working in rounds. Techniques include color changes, crocheting into spaces, and joining motifs. Beginners who have practiced a few smaller granny squares should find this project very achievable, while intermediate crocheters will enjoy the relaxing repetition.
Materials
- Worsted weight (medium #4) yarn in three colors:
- Color A – Warm terracotta (approx. 400g for a throw, up to 800g for a bedspread)
- Color B – Soft sage green (approx. 500g for a throw, up to 1,000g for a bedspread)
- Color C – Cream or off-white (approx. 500g for a throw, up to 1,000g for a bedspread)
- Fiber suggestion: Soft acrylic or cotton-blend yarn for comfort and durability.
- Crochet hook: 5.0 mm (H-8) or size needed to obtain gauge.
- Tapestry needle: For sewing squares and weaving in ends.
- Sharp scissors
- Stitch markers (optional)
- Measuring tape
Finished Size
Sized as shown: Approximately 180 cm x 210 cm (71″ x 83″) for a standard queen bed (6 squares wide x 7 squares long, each approx. 28 cm/11″ square). Adjust size by adding or subtracting squares in width and length, or by making smaller/larger squares (add or reduce rounds per motif).
Gauge
Gauge is approximately 12 double crochet stitches x 6 rounds = 10 x 10 cm (4 x 4 inches), measured over the granny square using suggested yarn and hook. Minor variations are fine for this modular pattern; if squares are slightly off, the assembly process and gentle blocking will help unify the finished blanket.
Stitches and Abbreviations
- ch – chain
- sl st – slip stitch
- sc – single crochet
- dc – double crochet
- sp – space
- sk – skip
- st – stitch
- MR – magic ring
Important Pattern Notes
- Ch-3 at the beginning of a round always counts as the first dc.
- Squares are worked in joined rounds: after each round, join with a sl st to the top of the initial ch-3 unless specified.
- To join a new color, finish the last stitch of the round with the new color and continue as indicated.
- Always work clusters into chain spaces, not into the tops of stitches unless instructed.
- Mark the right side (RS) of your squares for consistent joining.
- Weave in ends as you go for a neater finish.
Detailed Crochet Pattern
Part 1: Granny Square Center
- With Color A (terracotta):
- Round 1 (Center): MR, ch 3 (counts as dc here and throughout), 2 dc in ring, ch 2, (3 dc in ring, ch 2) three times. Join with sl st to top of ch-3. (Total: 4 clusters; 4 ch-2 corners)
- Fasten off Color A.
Part 2: Expanding the Motif
- With Color B (cream):
- Round 2: Join with sl st in any ch-2 sp, ch 3, 2 dc in same sp, ch 2, 3 dc in same sp (first corner made), *ch 1, (3 dc, ch 2, 3 dc) in next corner sp* repeat from * to * two times, ch 1, join with sl st to top of initial ch-3. (8 clusters; ch-2 at corners, ch-1 along sides)
- Fasten off Color B.
- With Color C (sage green):
- Round 3: Join with sl st in any ch-2 sp (corner), ch 3, 2 dc, ch 2, 3 dc in corner sp (corner made), *ch 1, 3 dc in next ch-1 sp, ch 1, (3 dc, ch 2, 3 dc) in next corner sp*, repeat from * to * two times, ch 1, 3 dc in next ch-1 sp, ch 1, join with sl st. (12 clusters)
- Fasten off Color C.
- With Color B (cream):
- Round 4: Join with sl st in any corner sp, ch 3, 2 dc, ch 2, 3 dc in same sp (corner), *ch 1, 3 dc in next ch-1 sp, ch 1, 3 dc in next ch-1 sp, ch 1, (3 dc, ch 2, 3 dc) in next corner sp*, repeat from * to * two times, [ch 1, 3 dc in next ch-1 sp] twice, ch 1, join with sl st. (16 clusters)
- Fasten off Color B.
- With Color C (sage green):
- Round 5: Join in any corner as before. Ch 3, 2 dc, ch 2, 3 dc in same sp (corner), *[ch 1, 3 dc in next ch-1 sp] three times, ch 1, (3 dc, ch 2, 3 dc) in next corner* repeat from * to * two times, [ch 1, 3 dc in next ch-1 sp] three times, ch 1, join with sl st. (20 clusters)
- Do not fasten off if using this color for the border; otherwise, fasten off.
Part 3: Square Border
- With Color B or C (choose preferred border shade):
- Round 6: Join in any corner, ch 3, 2 dc, ch 2, 3 dc in same sp, *[ch 1, 3 dc in each ch-1 sp across to next corner], ch 1, (3 dc, ch 2, 3 dc) in corner*, repeat for each side. Join with sl st to top of initial ch-3. (24 clusters)
- Fasten off and weave in all ends.
Repeat Parts 1-3 for as many squares as needed for your desired blanket size. For a queen-sized blanket as pictured, aim for 6 squares wide by 7 squares long (42 squares total).
Part 4: Joining the Squares
- Lay out all finished squares in your desired arrangement, alternating direction for color variation if desired.
- With RS facing up, join squares with whip stitch using matching yarn and tapestry needle, working through the back loops only for an invisible seam. Alternatively, use single crochet join on the RS for a decorative texture.
- Work row by row, then join columns for accuracy.
Part 5: Blanket Border
- Once all squares are joined, attach preferred border color (suggested: sage green or cream) to any corner ch-2 space.
- Border Round 1: Ch 3, 2 dc, ch 2, 3 dc all in same corner sp. *[Ch 1, 3 dc in each ch-1 sp or seam across side to next corner], ch 1, (3 dc, ch 2, 3 dc) in each corner*, continue around. Join with sl st to top of ch-3.
- Repeat border round as desired (suggested: 2–3 rounds for a substantial look), always working 3 dc, ch 2, 3 dc in corners and 3 dc in each ch-1 space or seam along sides.
- Fasten off and weave in all ends.
Assembly and Finishing
- Carefully sew or crochet squares together, making sure corners and edges align.
- Weave in all yarn tails using a tapestry needle.
- Launder your blanket gently if yarn allows, then lay flat to block, stretching and smoothing to shape. Pin edges for crisp squares if necessary.
- Let dry completely before use to help squares remain flat and seams neat.
Customization Ideas
- Change the color palette: Try cool blues, sunburst yellows, or a monochrome scheme for modern effects.
- Adjust yarn weight and hook size for smaller/larger squares and lighter/heavier blankets.
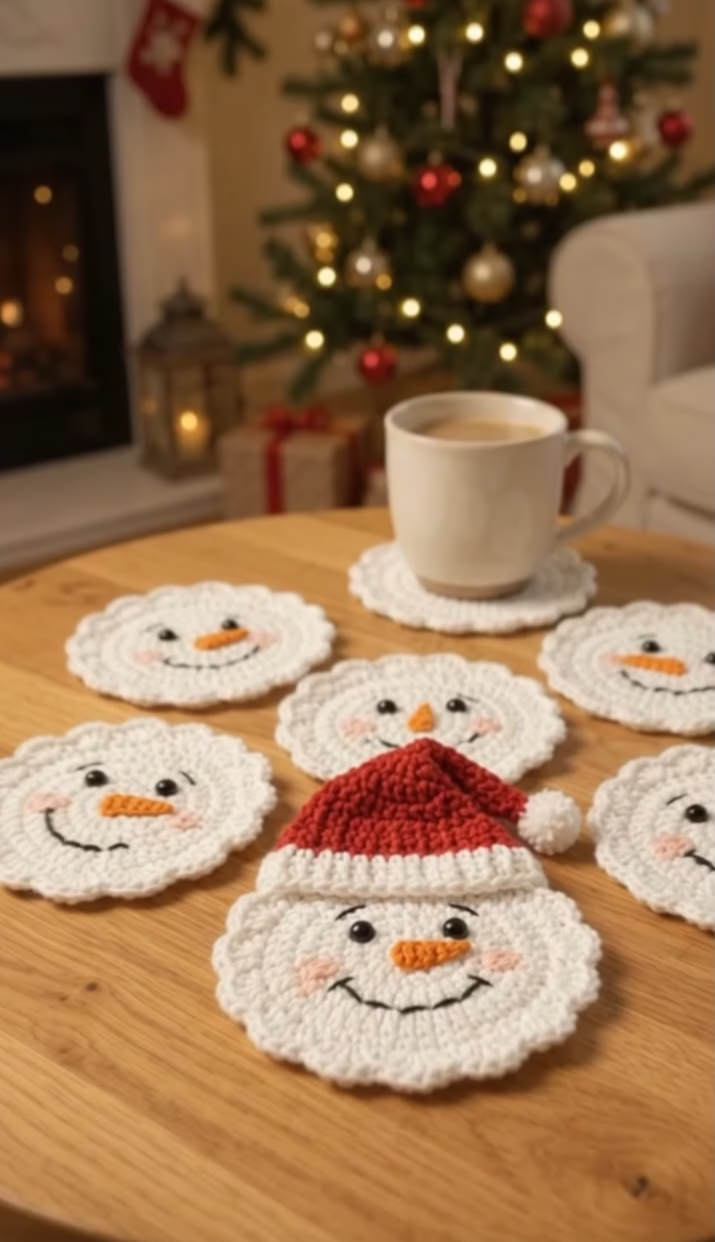
- Turn single squares into coasters, pillow covers, or bag panels by making fewer rounds.
- Combine small variations (like round count or color order) for a patchwork look.
- Add a scalloped or picot edge for a decorative border.
Troubleshooting Tips
- If squares curl, check your tension or try a larger hook.
- Uneven edges can be tidied in the border and by blocking.
- If the blanket becomes too large or small, adjust the number of rounds per square or use a different hook size.
- Loose color changes can be fixed by fastening off and rejoining with a tight knot, then weaving in ends securely.
- For uneven tension, slow down and practice making uniform stitches, using a stitch marker to mark rounds as needed.
Care Instructions
- Machine wash on gentle with cool water, or hand wash if unsure of yarn label.
- Lay flat to dry to prevent stretching and maintain sharp edges.
- Do not bleach. Iron on low if needed, and only with a pressing cloth.
Final Notes
As you make your blanket, check stitch counts at the end of each round to keep motifs even. Adjust tension for a consistent look, and always refer back to your squares to match size if changing hook or yarn. Lay out motifs before joining to ensure your color placement is pleasing. Most importantly, use your finished project as a visual guide and enjoy every stitch—handmade blankets are meant to be loved and cherished!