Introduction
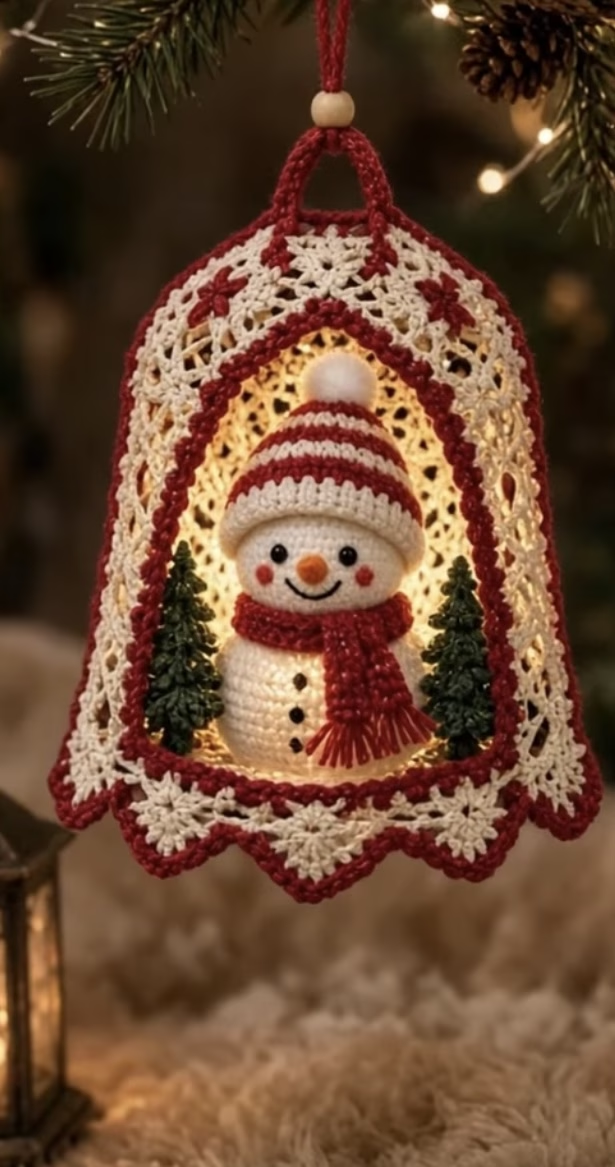
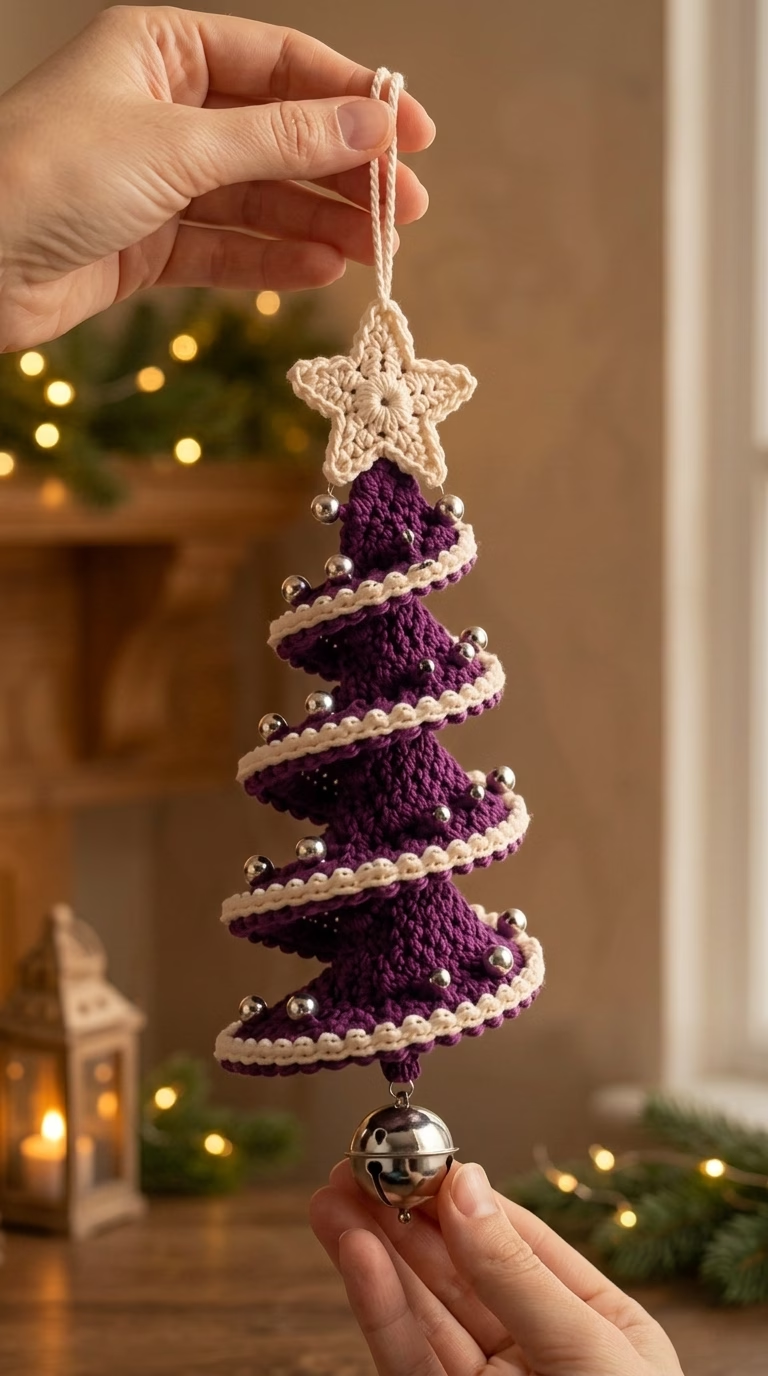
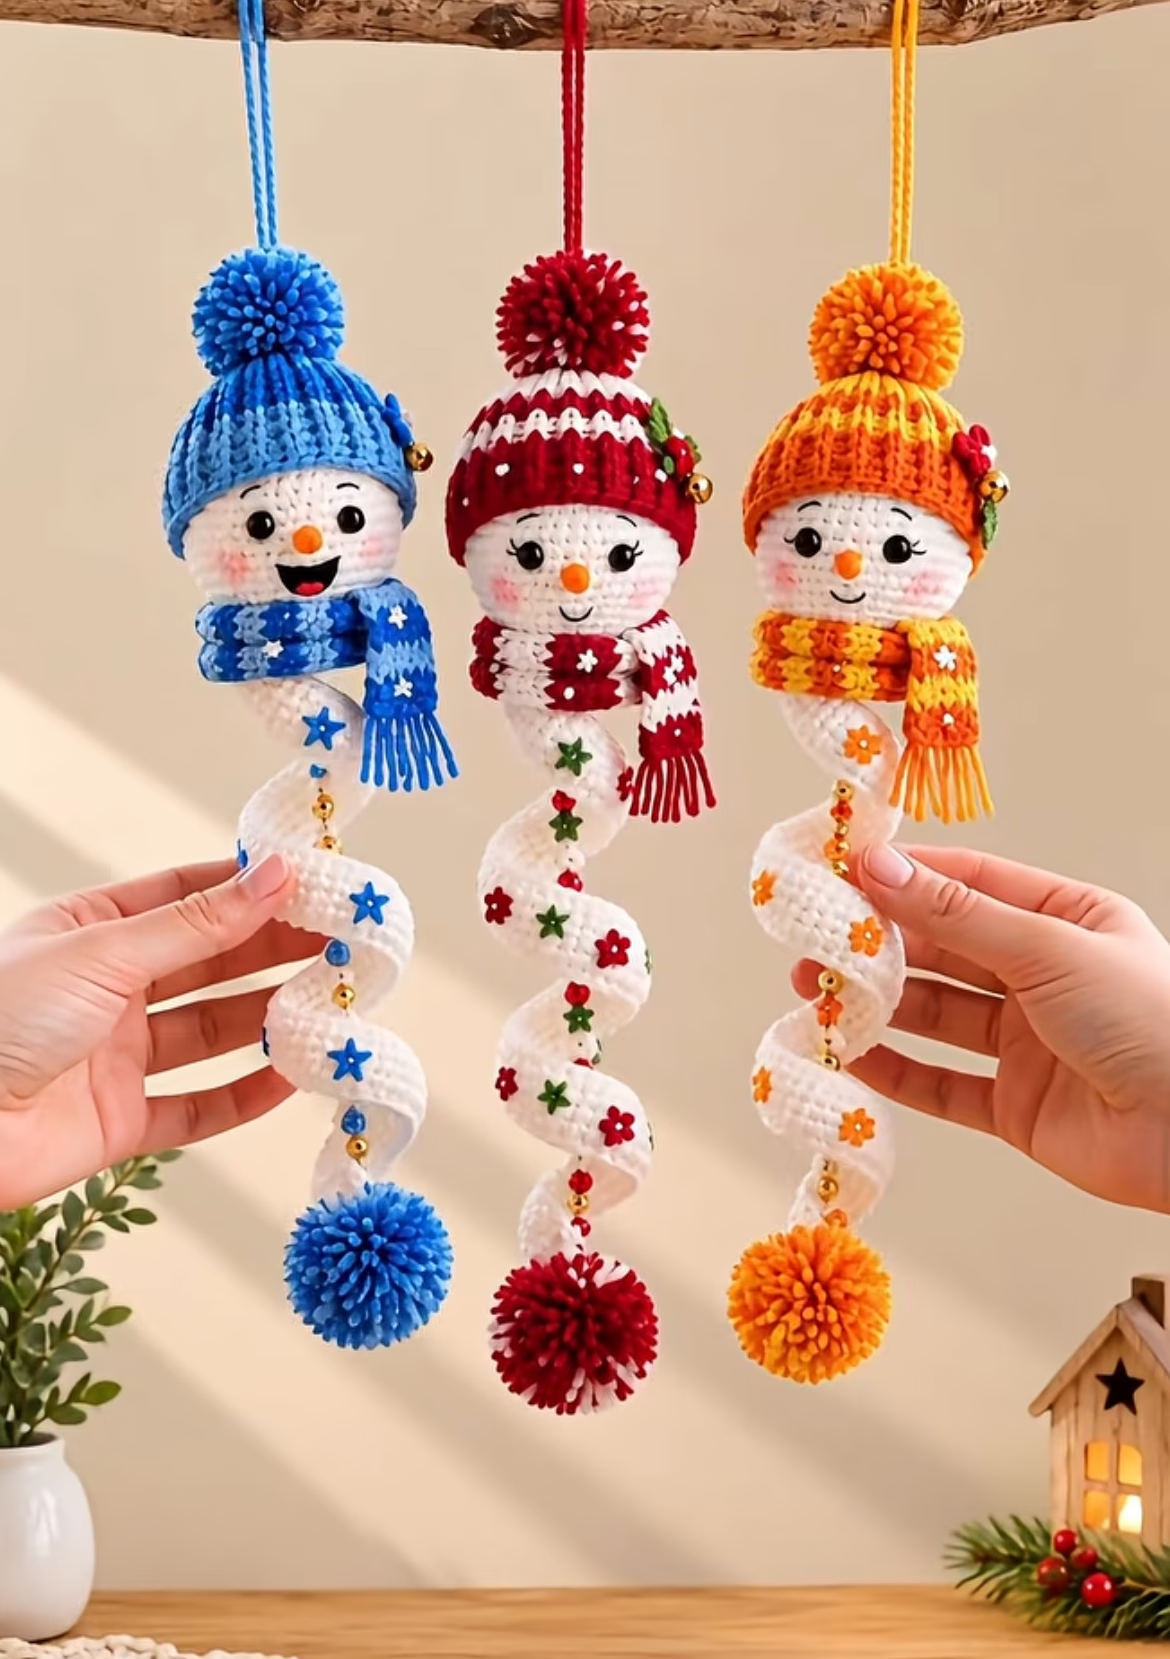
This crochet project creates a charming spiral snowman hanging, radiating joy and whimsy from top to bottom. Each snowman features a delightful, round head with a smiling face, topped by a colorful winter hat and matching scarf. Their bodies unfurl in a vertical spiral, playful and airy, decorated with scattered shiny embellishments and joined at the base by a matching pom-pom. The design shines with festive reds, blues, yellows, and bright white, making it the perfect winter ornament or cheerful holiday gift.
Visually, these spiral snowmen catch the eye with their happy expressions, big pom-poms, fluttering scarves, and neatly sewn facial features. The texture comes from tight amigurumi-style stitches for the head and spiral, smooth color transitions, and the contrasting bobble hats and scarves. Hang one in a window, on a doorknob, or as part of a festive garland—these snowmen add personality and color wherever they go. Crocheting this project is an engaging way to practice sculptural techniques, color changes, and decorative applique in one playful package.
Project Overview
This snowman hanging is made in several separate pieces worked in the round and in rows, including:
- The head (a sphere crocheted in the round)
- The spiral body (worked in rows and twisted into shape)
- The hat (worked in the round), plus a pom-pom
- The scarf (worked in rows)
- Pompoms and facial features attached separately
- Embellishments and hanging loop
Skill Level
Advanced Beginner to Intermediate. The project is suitable for crocheters comfortable working in the round, sewing amigurumi-style facial pieces, and making even rows with neat color changes. Experience with applique, pom-poms, and joining small elements is helpful, but all steps are explained in detail.
Materials
- Yarn: Light worsted / DK weight yarn (category 3), approx. 100% acrylic or cotton-acrylic blend for durability.
- White: 30g (main body and head)
- Primary Color 1 (hat and scarf): 15g (blue, red, or yellow/orange)
- Accent Color 2 (for hat/scarf stripe, flower embellishment): 5g (choose light or contrasting color)
- Orange: Small amount for nose
- Black: Small amount for eyes and smile
- Pink: A scrap for blush (use powder blush or pink yarn)
- Crochet Hook: 3.0 mm (US size D)
- Tapestry/Yarn Needle: For sewing on features and weaving ends
- Scissors
- Stitch Markers: For keeping track of rounds and spiral rows
- Fiberfill Stuffing: For the snowman head
- Pompom Maker or cardboard circles: For creating pom-poms (can be made by hand)
- Decorative Sequins, Mini Flowers, or Beads: Various colors for spiral embellishments
- Small bells (optional): Gold bells for festive touch
- Glue (optional): To secure embellishments if not sewn
Finished Size
- Approximate total height: 37-40 cm (14.5-16 inches) from hanging loop to bottom pom-pom
- Spiral body length (unstretched): 28-30 cm (11-12 inches)
- Head diameter: about 5 cm (2 inches)
- Pompom diameter: 4.5-5 cm (1.75-2 inches)
To adjust the size: Use heavier or lighter yarn, or make the spiral longer or shorter by adding/removing rows as desired.
Gauge
Approximate gauge (spiral strip): 8 rows x 15 sc (single crochet) = 5 x 5 cm (2 x 2 in). For stuffed pieces (head), firm stitches are best—gauge not critical, but size will vary slightly with yarn/hook/tension.
Stitches and Abbreviations
- ch – chain
- sl st – slip stitch
- sc – single crochet
- hdc – half double crochet
- dc – double crochet
- inc – increase (2 sc in same st)
- dec – decrease (sc two sts together)
- st(s) – stitch(es)
- MR – magic ring
Important Pattern Notes
- Unless otherwise noted, rounds are joined with a slip stitch and begun with a chain (does not count as stitch).
- Work spiral body flat in rows, then twist into a corkscrew before attaching.
- Use a stitch marker to keep track of beginning of rounds for head and hat.
- Change colors by completing the last yarn over of previous stitch with new yarn.
- Right side (RS) is the outside of the head, hat, and spiral body.
- All facial embroidery and embellishments are sewn or glued after main pieces are complete.
Detailed Crochet Pattern
Part 1: Head (Worked in the Round)
- With white yarn, make a MR.
- Round 1: Sc 6 into MR. (6 sts)
- Round 2: Inc in each st around. (12 sts)
- Round 3: (Sc in next st, inc) around. (18 sts)
- Round 4: (Sc in next 2 sts, inc) around. (24 sts)
- Round 5: (Sc in next 3 sts, inc) around. (30 sts)
- Rounds 6-10: Sc in each st around. (30 sts for 5 rounds)
- Round 11: (Sc in next 3 sts, dec) around. (24 sts)
- Round 12: (Sc in next 2 sts, dec) around. (18 sts)
- Stuff firmly with fiberfill.
- Round 13: (Sc in next st, dec) around. (12 sts)
- Round 14: Dec around. (6 sts)
- Finish stuffing if needed, fasten off, and thread through last 6 sts to close. Weave in ends.
Tip: Mark the top center to help align the hat later.
Part 2: Spiral Body (Worked Flat in Rows)
- With white yarn, ch 70 (for medium spiral, approx. 30cm/12in). For a longer or tighter spiral, ch more or fewer.
- Row 1: Sc in 2nd ch from hook and each ch across. (69 sts)
- Rows 2-5: Ch 1, turn, sc in each st across. (69 sts per row)
- This creates a flat, firm strip. Adjust width by adding or removing rows (4-5 rows suggested).
- Fasten off, weave in starting tail. Leave a 20cm (8in) tail at end for sewing.
- Forming the Spiral: With RS facing, roll the strip into a corkscrew/spiral shape by coiling it gently. The shape holds naturally when sewn at both ends.
Part 3: Hat (Worked in the Round)
- With primary color (e.g., blue, red, or orange), make a MR.
- Round 1: Sc 6 in MR. (6 sts)
- Round 2: Inc in each st around. (12 sts)
- Round 3: (Sc in next st, inc) around. (18 sts)
- Round 4: (Sc in next 2 sts, inc) around. (24 sts)
- Round 5: (Sc in next 3 sts, inc) around. (30 sts)
- Rounds 6-8: Sc in each st around. (30 sts for 3 rounds)
- For stripes, alternate 2 rounds in main color, 1 in accent (e.g., white or yellow).
- Rounds 9-10: Brim: Switch to accent color. Hdc in each st around. (30 hdc each round)
- Fasten off, leaving a long tail for sewing.
- With a matching or contrasting yarn, create a pom-pom about 4.5cm (2in) diameter. Sew securely to top center of hat.
- Optional: Sew or glue a small jingle bell and a felt or crocheted flower/leaf to the brim for extra detail.
Part 4: Scarf (Worked Flat in Rows)
- With primary color, ch 40 (about 16cm / 6in for a small scarf).
- Row 1: Sc in 2nd ch from hook and each ch across. (39 sts)
- Rows 2-3: Ch 1, turn, sc in each st across. (39 sts per row)
- Optional stripes: On Row 2 or 3, switch to accent color for a striped effect.
- At each short end, cut 6-8 strands about 5cm (2in) long and add as fringe by folding in half and pulling halfway through the edge stitches, then pulling the tails through the loop (lark’s head knot).
- Trim fringe neatly.
Part 5: Facial Features and Decorative Elements
- Eyes: With black yarn, embroider 2 solid circles, 5 stitches apart, about halfway down the head. Use satin stitch, or glue on 6mm black felt circles or safety eyes (if not for young children).
- Mouth: Use black yarn to embroider a wide, slightly curved smile below the eyes, 1cm (half inch) below. Add vertical stitches for smiles.
- Nose: With orange yarn, embroider or stitch a carrot-shape—2-3 rows long, centered between eyes and mouth.
- Blush: Add pink yarn/felt circles on cheeks, or use a small dab of pink blush powder.
- Spiral Decoration: Evenly space colorful sequins or mini flowers (6-8 along spiral), securing with a small stitch or dot of glue. Sew or glue on mini gold bells at two or three intervals for festive sound.
Part 6: Bottom and Top Pom-Pom
- Make a large pom-pom in the chosen scarf/hat color, about 4.5cm/2in diagonal. Trim to a neat ball.
- Sew or firmly tie the pom-pom to the bottom end of the spiral body.
- For hanging: Cut a 25cm (10in) length of yarn, fold in half, and sew both tails securely to top of hat or through head, forming a loop for hanging.
Assembly and Finishing
- Sew the hat securely to the top of the snowman’s head, positioning slightly forward so forehead peeks out under brim.
- Sew the scarf around the snowman’s “neck” (just below head), tying at the side and securing with a couple stitches to keep it in place.
- Attach the top end of the spiral firmly to the underside of the head, centering it with even tension so it hangs straight. Stitch several times through both pieces for stability.
- Decorate the spiral with flowers, sequins, beads, or bells. Space evenly on visible side of the spiral.
- Sew or tie the large pom-pom to the bottom of the spiral.
- Weave in all ends securely. If using glue for embellishments, allow it to dry fully.
- Gently block the spiral strip if needed (lay flat under a damp cloth and let dry) to set its curl before assembly.
Tip: If the spiral does not hold shape well, lightly spray with water, twist, and clamp for a few hours.
Customization Ideas
- Change hat/scarf/embellishment colors for themed decor (e.g., icy blue, classic red/green, pastel winter wonderland, or rainbow strands).
- Add tiny crochet or felt snowflakes, hearts, or stars to the spiral instead of only sequins.
- Use fluffy chenille or velvet yarn for a super-soft scarf.
- Make a mini version as a tree ornament by shortening the spiral.
- Enlarge and attach to a square for a festive blanket, pillow, or wall hanging center motif.
- Omit the hanging loop and secure onto a holiday wreath.
Troubleshooting Tips
- If spiral body curls too much or too little, adjust your tension and number of rows—the flatter/shorter, the looser the coil; the longer/tighter, the denser the spiral.
- Uneven spiral edges can result from loose turning chains—keep edges tight.
- If face is wobbly, stuff the head firmly and seam evenly all around.
- Color changes showing at the back: Always carry your yarn up the inside, and finish color changes before pulling through the last yarn over of the previous stitch.
- Spiral coming loose: Secure both ends well to the head and pom-pom, and consider anchoring the spiral at one to two extra points with hidden stitches.
- Pompoms shedding: Use a strong center tie and trim with sharp scissors; secure ends with a dab of glue if necessary.
Care Instructions
- Spot clean with cold water and mild detergent.
- Lay flat to dry; avoid wringing or twisting tightly.
- Reshape spiral and pom-poms after washing.
- If needed, gently use a lint roller to remove dust or pet hair.
Final Notes
Take your time to check your stitch counts on each part, keep your tension even, and refer to the image as a visual guide for face placement, color blocking, and embellishments. The spiral snowman hanging is an inviting, cheerful project perfect for festive occasions and a winter’s afternoon of crafty joy. Adjust the details, play with colors, and make each snowman uniquely yours!