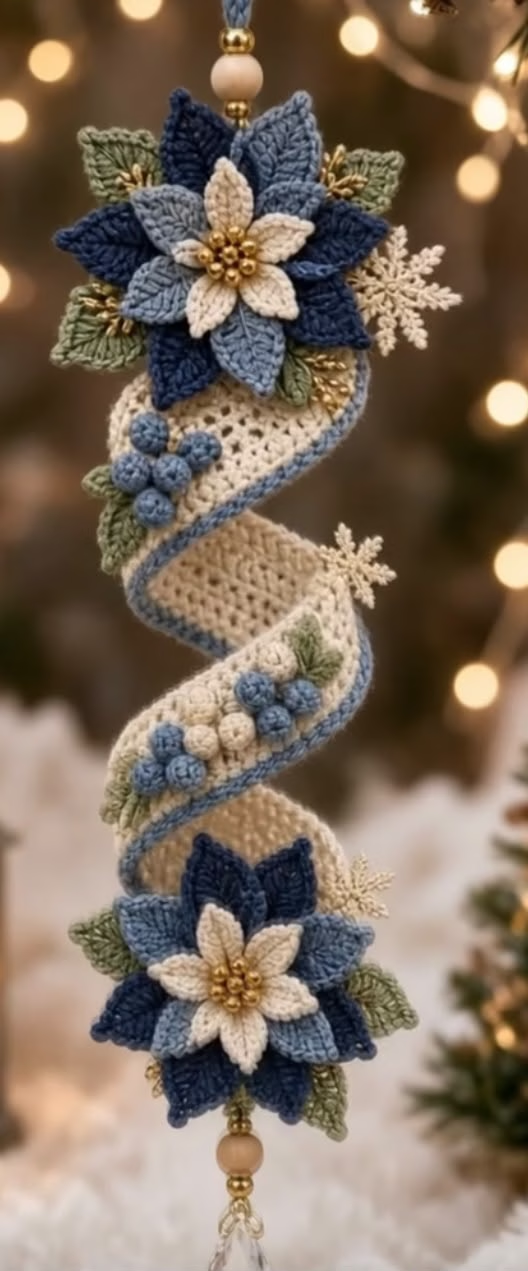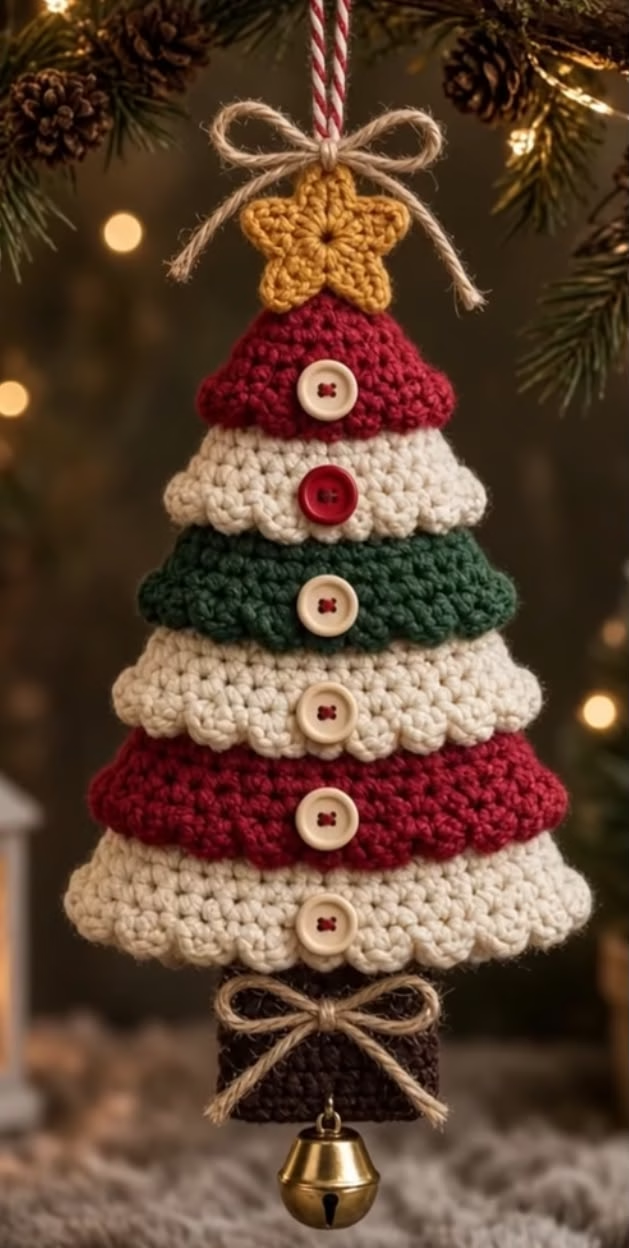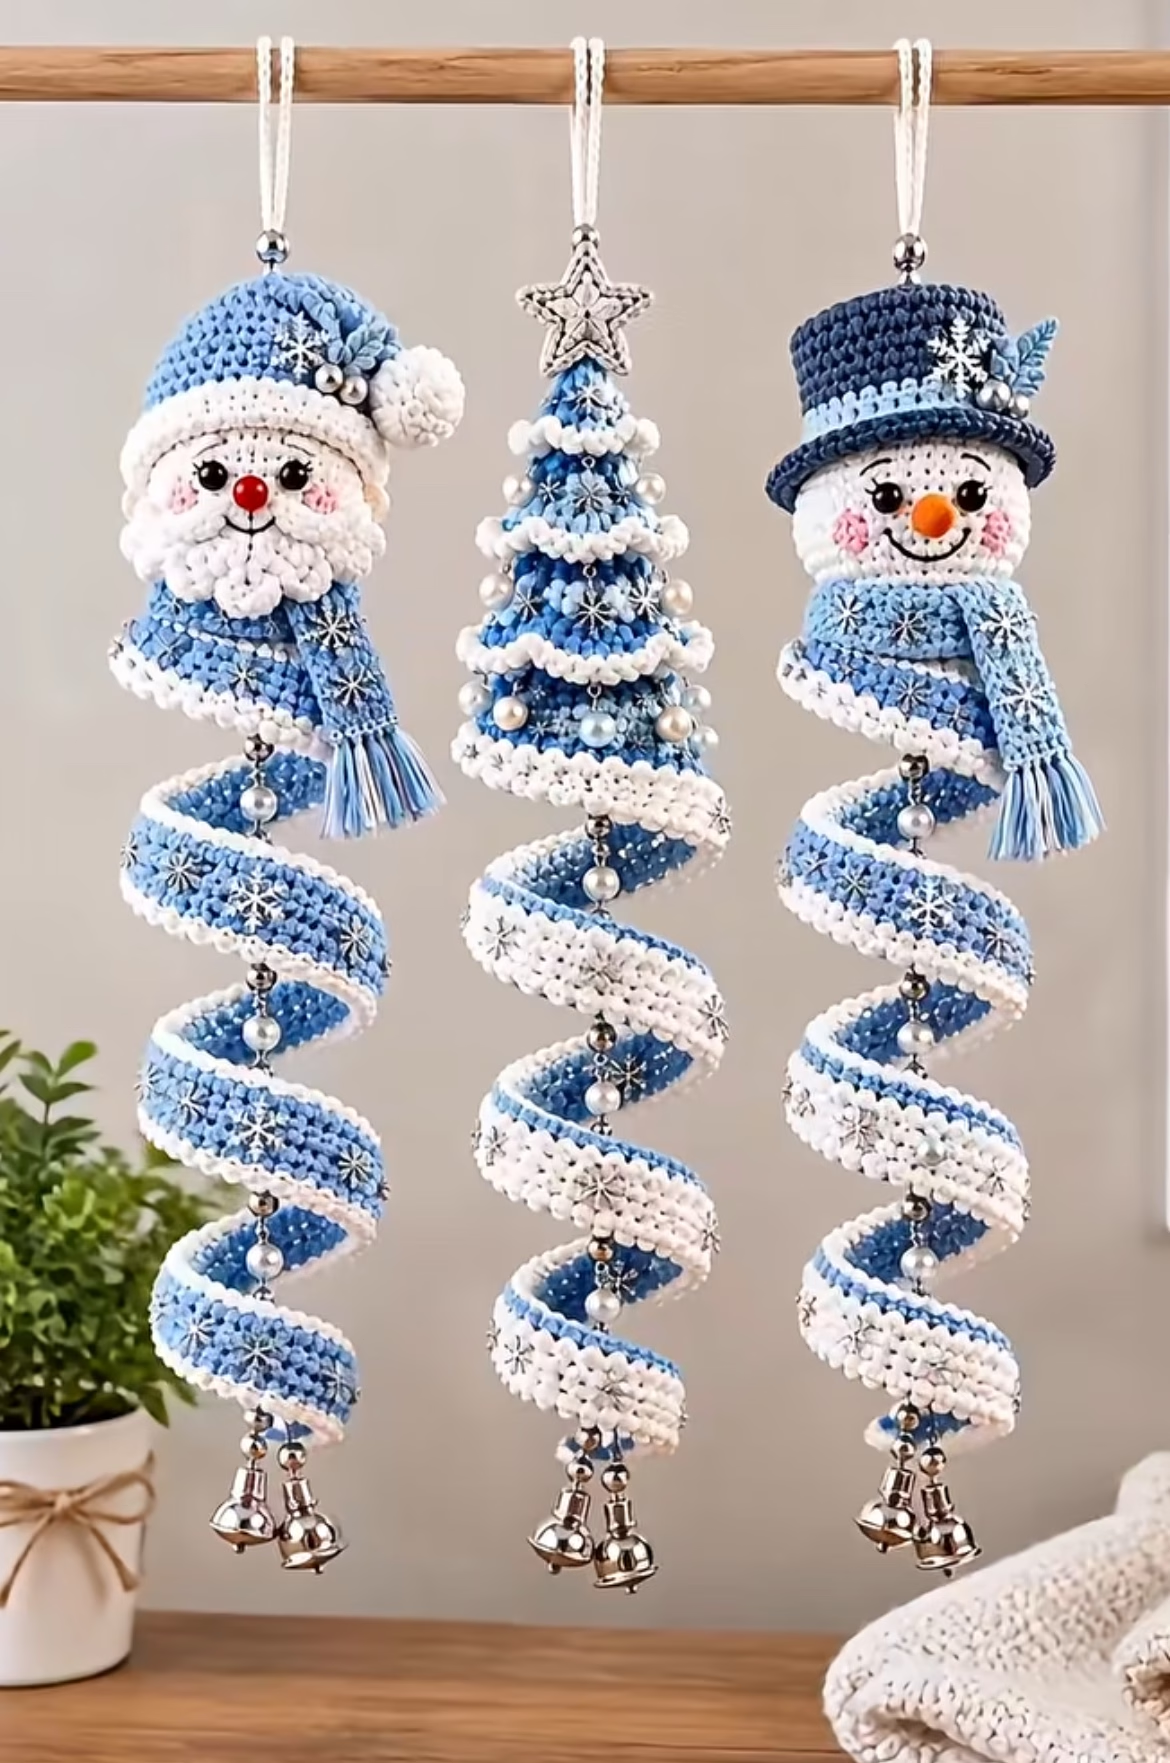
Bring a touch of whimsy to your holiday décor with these stunning spiraling Christmas ornaments. Featuring a jolly Santa, a cheerful snowman, and a festive tree, each ornament bursts with blue and white stripes, intricate 3D facial features, and sparkling embellishments like beads and jingle bells. The standout feature is the dramatic spiral tail cascading below each character, adorned with snowflakes and beads for extra seasonal magic. Use these as tree ornaments, festive garlands, or to brighten doors and windows during winter.
The high contrast blue and white theme gives these pieces a modern aesthetic while remaining undeniably festive. With textured crochet stitches, plush embellishments, and a visually appealing spiral twist, these ornaments combine fun with craft in a way that will charm guests and make any space feel special. Whether you’re a holiday crochet lover or looking for show-stopping gifts, this project offers both creativity and satisfaction.
Project Overview
This project is constructed from several parts, worked primarily in rows and rounds, then assembled. Each ornament consists of:
- A 3D character head (Santa or Snowman) or a cone (Tree)
- A striped spiral tail worked as a long flat piece, then twisted into a spiral
- Scarf, hat, and other facial or decorative elements made separately
- Embellishments (beads, embroidered snowflakes, bells, star toppers)
Most parts are crocheted separately, then sewn or attached at the end to achieve their delightful three-dimensional look.
Skill Level
Intermediate: This project uses basic and some intermediate techniques — color changes, amigurumi-style features, flat and 3D shapes, embellishments, and decorative assembly. Some shaping and sewing is required. Clear written instructions make it accessible to confident beginners looking to stretch their capabilities.
Materials
- Yarn Weight: DK/light worsted (category 3); cotton or acrylic blend for firmness and drape
- Colors & Approximate Amounts:
- Royal Blue: 50g
- White: 40g
- Light Blue: 15g
- Skin Tone (peach, beige, or cream for faces): 8g
- Small Red (Santa nose): scrap
- Orange (Snowman nose): scrap
- Black (eyes, smile): scrap
- Pink (cheeks): scrap optional
- Crochet Hook: 3.0 mm (US C/2 or D/3)
- Tapestry Needle
- Scissors
- Polyester Stuffing (for heads/cone)
- Beads/Pearls: 6 mm and 9 mm for spiral and tree
- Silver Jingle Bells: 2-3 per ornament
- Small faux gems or embroidery thread (for snowflake details)
- Pipe cleaner or floral wire (to shape spiral if desired)
- Stitch Markers
- Small safety eyes (optional, for faces)
- Small star button or crochet star (tree top)
Finished Size
- Height (from hanging loop to bottom of spiral, including head): ~32 cm / 12.5”
- Head height: ~8 cm / 3”
- Spiral length (fully stretched): ~22 cm / 8.5”
Adjust size by changing hook or yarn weight. For longer spirals, increase the starting chain in the spiral section.
Gauge
Gauge is not critical but affects the finished size. As a guide: 10 sc x 10 rows = 4 cm x 4 cm (1.6″ x 1.6″). Small differences are fine; keep tension firm and consistent, especially for 3D facial parts.
Stitches and Abbreviations
- ch – chain
- sl st – slip stitch
- sc – single crochet
- hdc – half double crochet
- dc – double crochet
- inc – increase (2 sc in next st)
- dec – decrease (single crochet two together)
- MR – magic ring
Important Pattern Notes
- Work rounds in a spiral (amigurumi style) unless otherwise noted. Use a stitch marker to mark the beginning of each round.
- Turning chains do NOT count as stitches unless noted.
- Change colors using the last yarn-over of the previous stitch.
- Leave long tails for sewing parts together. Secure firmly.
- When embroidering or sewing on features, always check placement with pins first
- Stuff heads and tree firmly for best shape; do not overstuff.
- Attach decorative pieces and beads after assembly for neatest results.
Detailed Crochet Pattern
Part 1: Crochet Spiral Tail (Make one per ornament)
- With blue yarn, ch 80. (For a longer or fuller spiral, add multiples of 10.)
- Row 1: Sc in 2nd ch from hook and each ch across. (79 sc). Do not fasten off.
- Row 2: Ch 1, turn. Sc in each st across. Before last two sts, change to white yarn. (79 sc)
- Row 3: Ch 1, turn, with white, sc in each st across. (79 sc)
- Row 4: Ch 1, turn, with blue, sc in each st across. (79 sc)
- Repeat Rows 3 and 4 for a total of 6 blue and 6 white stripes, alternating every two rows. End with a white stripe. (Adjust stripe frequency to taste and ensure both sides look tidy.)
- Fasten off, leave a tail for sewing.
- Optional (for beaded spiral): Using a sewing needle, thread beads/pearls through the center of each color change, securing each with a few stitches. Embroider or sew small silver snowflake sequins randomly along the spiral.
To form the spiral: Hold one end and gently twist the strip until it naturally forms a corkscrew. For structure, you may run a pipe cleaner or wire along the edge as you twist, tacking with a few stitches if needed.
Part 2: Santa and Snowman Head
(Work two heads if making Santa and snowman)
- Start with skin tone yarn. MR, 6 sc into ring (6)
- Rd 2: inc in each st around (12)
- Rd 3: (sc in next, inc) around (18)
- Rd 4: (sc in next 2, inc) around (24)
- Rd 5: (sc in next 3, inc) around (30)
- Rd 6: (sc in next 4, inc) around (36)
- Rd 7–10: Sc in each st (36 per round)
- Rd 11: (sc in next 4, dec) around (30)
- Rd 12: (sc in next 3, dec) around (24)
- Stuff firmly.
- Rd 13: (sc in next 2, dec) around (18)
- Rd 14: (sc in next, dec) around (12)
- Rd 15: dec around (6)
- Fasten off, weave end through remaining sts and pull to close.
Part 3: Santa Features
- Nose: With red yarn, MR, 5 sc in ring, sl st to join, fasten off and leave tail to sew on.
- Cheeks: With pink yarn, MR, 5 sc in ring, sl st to join, fasten off and leave tail.
- Beard: With white yarn, ch 18, sc in 2nd ch from hook and next 3 ch, hdc in next 4 ch, dc in next 5 ch, hdc in next 3 ch, sl st in last ch. Fasten off. Sew under nose, curving beard into a mustache shape; embroider black mouth under mustache.
- Eyes: Use 6 mm black safety eyes or embroider French knots, about 1.5 cm apart, above nose.
- Santa Hat: With blue yarn, ch 2, work 6 sc in 2nd ch from hook.
- Rd 2: (sc in next, inc) around (9)
- Rd 3: (sc in next 2, inc) around (12)
- Rd 4: (sc in next 3, inc) around (15)
- Continue increasing 3 sts per round until brim fits diameter of head (typically 24 sts).
- Switch to white yarn, sc around for one round (brim). Fasten off.
- Sew hat to head slightly tilted at one side.
- Pompom: Make small white pompom or crochet: MR, 8 sc in ring, sl st to join, tighten and sew to hat point.
Part 4: Snowman Features
- Carrot Nose: With orange yarn, ch 4, sl st in 2nd ch, sc in next, hdc in last, fasten off. Roll into cone and sew to face.
- Eyes and Smile: Use safety eyes or embroider black French knots; embroider smile with 2-3 little black stitches curving below nose.
- Cheeks: MR, 5 sc in pink, sl st to join. Fasten off, sew to face.
- Hat: With navy or dark blue, ch 2, 8 sc in 2nd ch (crown).
- Next: (sc in next, inc) around (12)
- Continue increasing by 4 sts per round until 20 sts.
- Change to light blue, work even in sc for 3 rounds (side of hat).
- With navy, sc inc in every other st for brim (30 sc).
- Fasten off, flatten hat, and sew atop snowman’s head slightly tipped.
- Decorate: Attach a blue felt or crocheted snowflake, a pearl bead, or sequin to side of hat for festive flair.
Part 5: Tree Motif
- With blue yarn:
- MR, 5 sc into ring.
- Rd 2: inc in each st (10)
- Rd 3: (sc in next, inc) around (15)
- Rds 4-12: Continue increasing 5 times per round, spacing evenly. For example:
Rd 4: (sc in next 2, inc) around (20)
Rd 5: (sc in next 3, inc) around (25)
And so on up to (sc in next 10, inc) around (55) or until desired cone height (about 7 cm / 2.75”).
- Switch to white for last 2 rounds as snowy cone base.
- Fasten off, stuff lightly, sew base closed if needed.
- Snowy Garland (Tree Ruffles):
- With white, join at starting ring and sl st around cone at every third round (or where you want ruffle).
- Ch 2 at start, work (hdc, ch 1, hdc) in each st around to create ruffle.
- Do 3–4 ruffle garlands on cone as desired, spacing evenly.
- Embellish: Sew beads/pearls and sequin snowflakes between ruffles for sparkle.
- Star: Stitch a star-shaped button or crochet a simple 5-point star to top and attach securely with thread.
Part 6: Scarves (Santa & Snowman)
- With light blue, ch 40 (or to desired length), turn, sc in second ch and each ch across (39 sc).
- Ch 1, turn, hdc in each st across (39 hdc).
- Add fringe: cut several 5 cm (2”) strands, loop through each end and pull tight.
- Wrap loosely around neck, tack down with a stitch or two in the back.
Part 7: Spiral Assembly & Embellishments
- After twisting the spiral, sew one end securely to the base of the Santa head, Snowman head, or Tree cone. Catch multiple stitches to ensure it holds and faces forward.
- Thread a needle with strong thread/yarn and pass it through the spiral, securing pearl beads or sequins at each full spiral rotation for structure and decoration.
- Bottom dangle: Using tapestry needle, thread several small/medium bells onto the spiral’s pointed end, securing tightly with several passes of thread. Position beneath spiral so bells jingle freely.
- At the top of each ornament, attach a crocheted or corded hanging loop (ch 18, sl st to 1st ch, fasten off, sew to top). For Santa and Snowman, attach loop to center of hat; for the tree, attach directly to star/top.
Assembly and Finishing
Santa and Snowman
- Attach all facial parts in the correct anatomical position, using pins to check before sewing.
- Sew hat/hats to head at jaunty angle. Add scarf snugly around the neck and tack at sides and back.
- Weave in all yarn tails neatly. Shape face and features with gentle pressure to make round and plush.
Tree: Embroider, sew, or glue pearls/beads and snowflakes evenly over cone and spirals. Attach star securely to the top and hanging loop as needed.
Gently block each spiral strip before assembly for evenness: pin spiral onto a flat surface with gentle curves and steam lightly if desired. Allow to cool before removing pins.
Customization Ideas
- Experiment with red, green, gold, or silver for a more traditional Christmas color palette.
- Use variegated or sparkly yarn for added shimmer.
- Add extra rows to the spiral for a longer, more dramatic ornament.
- Skip faces and make multiple trees for a floating forest look.
- Turn motif into a festive garland by stringing several spirals along a sturdy chain or cord.
- Use single spirals as accent pieces on gifts, wreaths, or wall hanging décor.
- Adapt the spiral into a coaster or mug rug by sewing both ends into a flat swirl.
Troubleshooting Tips
- Piece curling (not spiraling enough): Add more rows to the strip and twist tightly; steam lightly to set shape.
- Uneven spiral: Ensure your stitch tension is consistent. Use a pipe cleaner or wire for extra structure if needed.
- Head shape lopsided: Make sure polyester stuffing is evenly distributed and sculpt shape gently with fingers.
- Motif too large/small: Adjust hook size or tweak starting chain/number of increases in spiral and head sections.
- Loose color changes: Always change color in the last yarn-over before switch. Securely weave in ends.
- Uneven edges on spiral: Count stitches at the end of each row, and use a blocking mat and pins before assembling.
Care Instructions
Handwash gently in cold water with mild detergent. Do not wring or twist; press out excess water in a towel. Lay flat to dry. Store in a dry area with ornaments fluffed for best display. Remove bells and beads before washing if possible.
Final Notes
Count your stitches regularly, especially on the spiral and face sections. Adjust your tension evenly to help all motifs match in size and shape. Use the image provided as a visual guide for embellishment placement and creative details. With careful assembly and a touch of your own personality, these whimsical Christmas ornaments will become cherished decorations for years to come. Enjoy crocheting and sharing the holiday spirit!