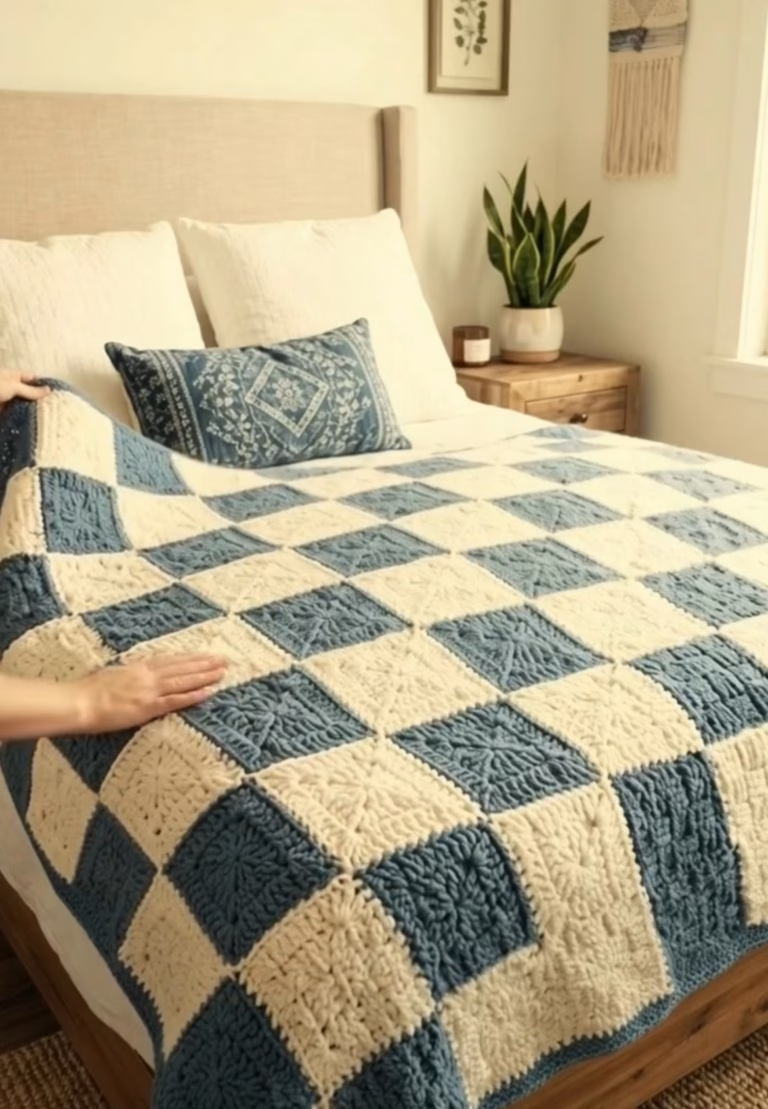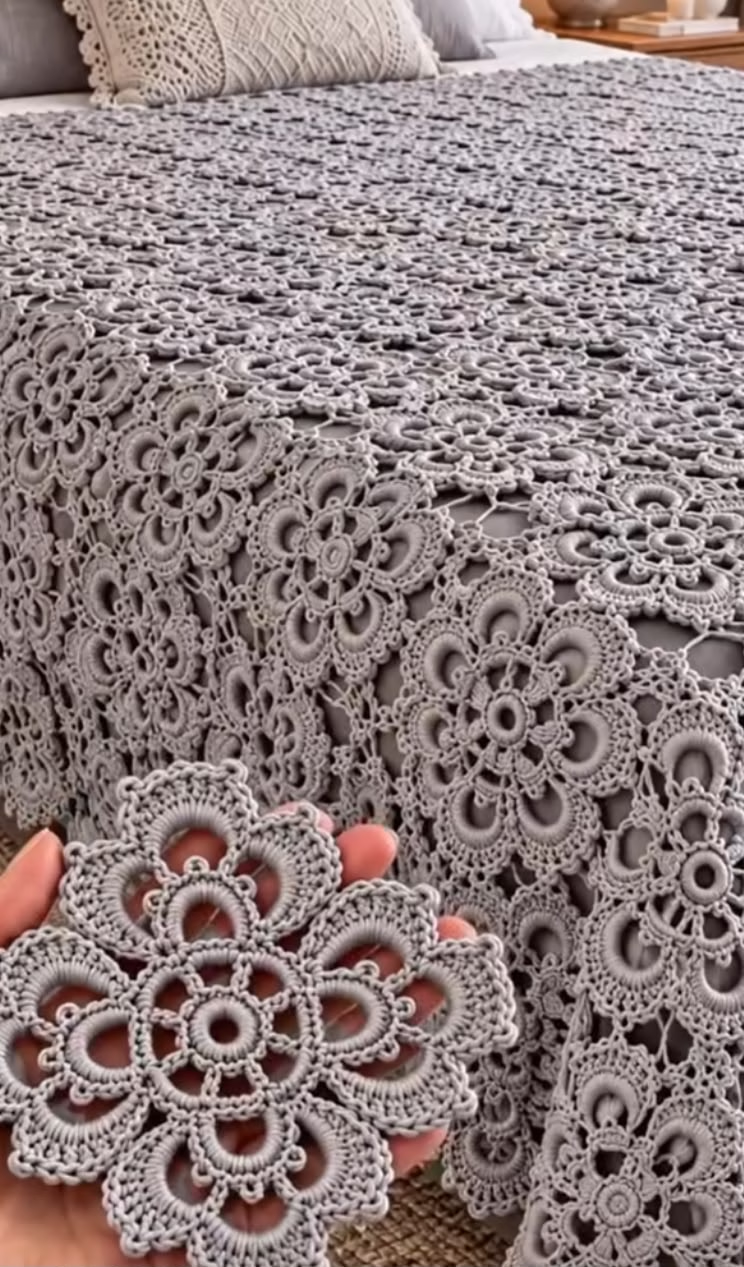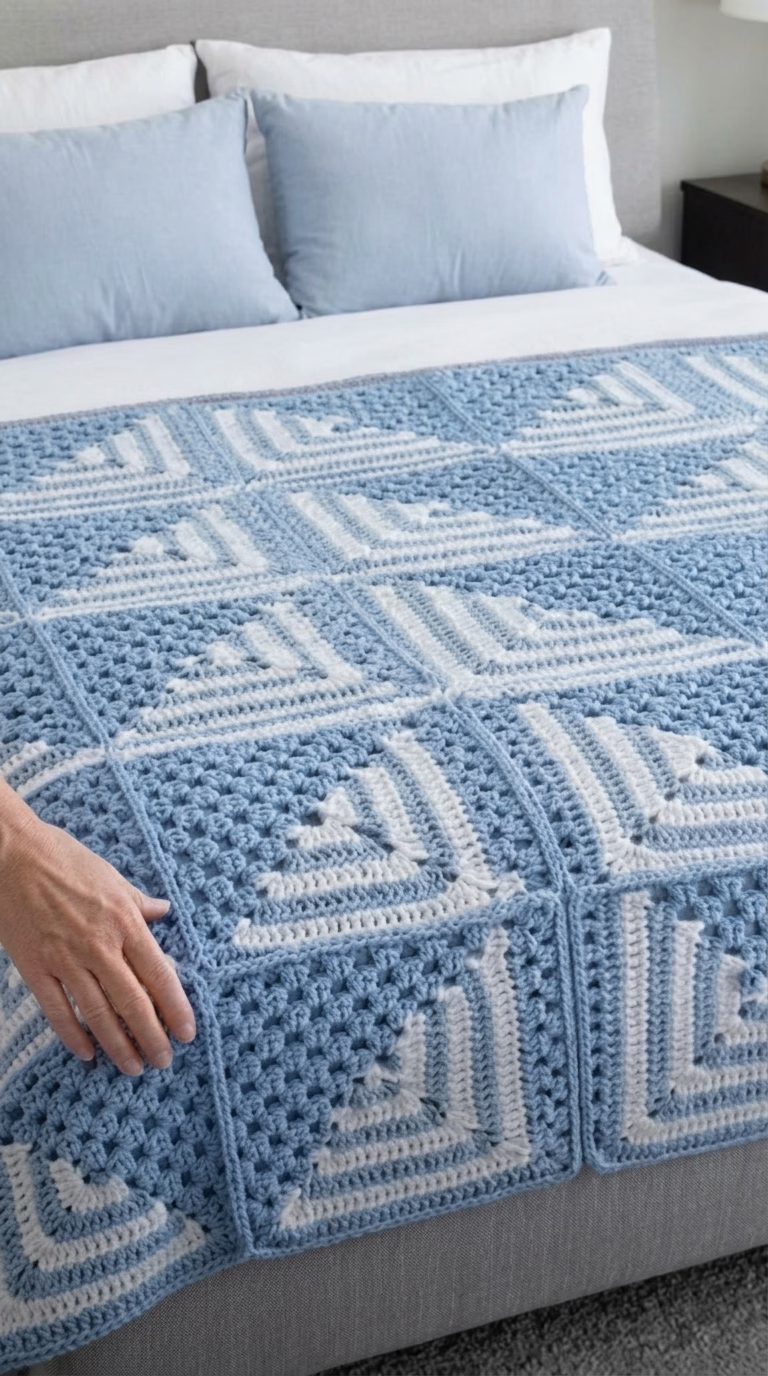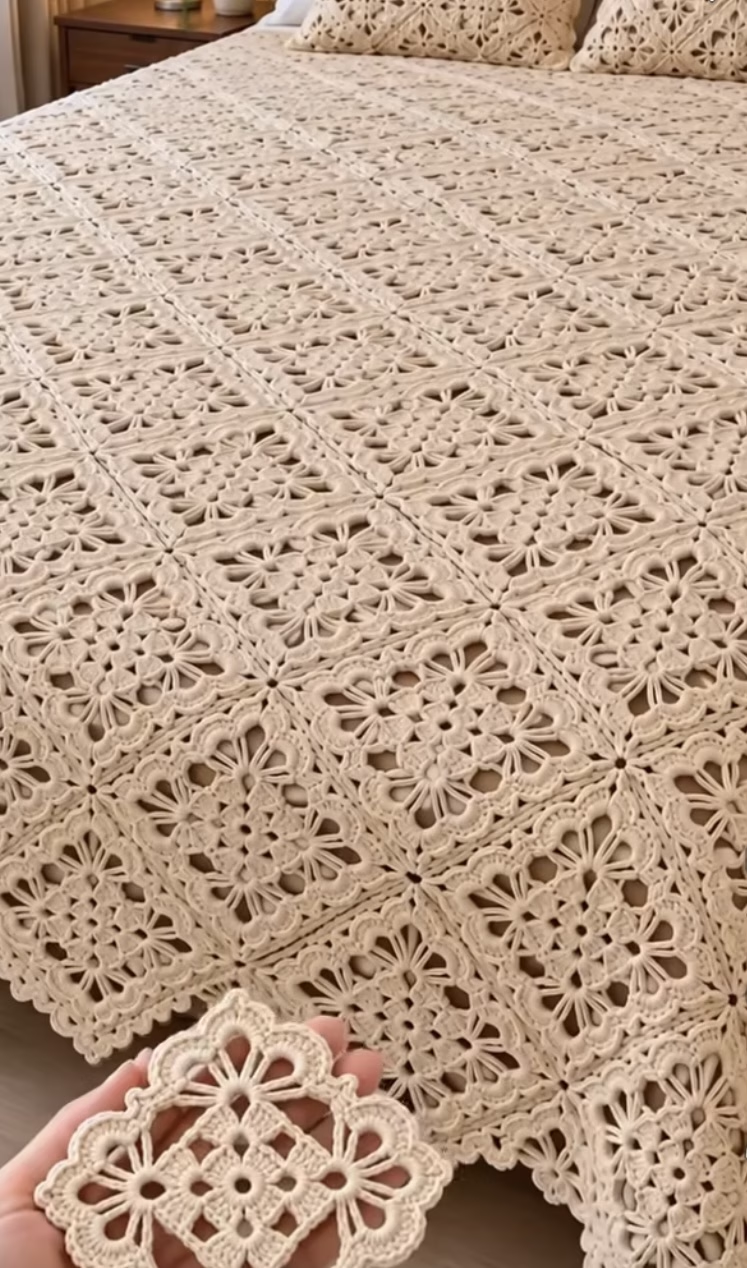
Transform your bedroom with a breathtaking hand-crocheted bedspread featuring a beautiful repeating lacy square motif. This project consists of intricate, openwork squares joined edge to edge, creating a vintage yet timeless look. The shown example uses a soft, neutral beige or cream cotton yarn, enhancing the motif’s texture and emphasizing the lovely loops and raised lines within each square. Each motif features floral and geometric elements, with picot or scalloped edges and central eyelet details, lending a lightweight, airy texture ideal for draping over a bed. Elevate your décor by extending this motif to matching pillow covers or even as decorative throws. This bedspread bridges classic crochet beauty with practical function, making it a rewarding and delightful project for any crochet enthusiast.
Project Overview
This bedspread is constructed from individual square motifs worked in rounds. Each motif is crocheted separately, then joined together as you go or by sewing, depending on your preferred method. The motifs are designed with openwork for a lace effect, and feature rich textural elements like loops, petals, and eyelets. The final bedspread is assembled by arranging the motifs edge to edge, and optionally adding a continuous border for a unified, polished finish. Matching motif pillow covers can be created using the same square pattern.
Skill Level
Advanced Beginner to Intermediate. This project involves basic stitches, working in the round, creating openwork (eyelets), making puff or cluster stitches, and joining motifs seamlessly. Some experience with reading patterns and maintaining even tension is helpful, but each section will be thoroughly explained for adventurous advanced beginners.
Materials
- Yarn: Light (Sport/2 or DK/3) weight 100% cotton yarn; approximately 2,500–3,500 yards (2,300–3,200 m) for a bedspread (queen size). Adjust amount for your size.
- Color shown: Natural beige/off-white (single color keeps it classic, but you may choose multiple colors).
- Crochet Hook: US size F/5 (3.75 mm) or G/6 (4.0 mm) – choose based on yarn and desired drape.
- Tapestry needle (for weaving ends and seaming motifs, if desired).
- Sharp scissors.
- Stitch markers (to mark motif corners, rounds, or joining points).
- Measuring tape (optional, for checking square size and overall bedspread dimensions).
Finished Size
A single motif measures approximately 13 cm x 13 cm (5 in x 5 in), lightly blocked. For a standard queen bed (240 cm x 240 cm / 94 in x 94 in), you will need a grid of about 18 x 18 squares (324 motifs), though you can adjust to fit your bed or use fewer for a throw.
To modify the finished size, increase or decrease the number of motifs in width and length, or use a different yarn/hook size for larger or smaller blocks.
Gauge
Gauge is approximately 13 cm x 13 cm (5 in x 5 in) per motif when using suggested yarn and hook, lightly blocked. Small differences in gauge will not ruin the project but will affect the final bedspread dimensions and yarn required.
Stitches and Abbreviations
- ch – chain
- sl st – slip stitch
- sc – single crochet
- hdc – half double crochet
- dc – double crochet
- tr – treble crochet
- MR – magic ring
- picot – ch 3, sl st in first ch (or as noted)
- cl – cluster: [dc, ch 2, dc] in same stitch or space
- inc – increase (2 stitches in same stitch)
- sp – space (as in “ch-1 sp”)
Important Pattern Notes
- Ch-3 at start of round counts as first dc unless otherwise stated.
- Motifs are worked in joined rounds unless otherwise specified.
- Where slip stitches are used to join rounds, always join to the top of the initial ch-3 (or st as instructed).
- Color changes: For a solid color, continue as normal. For color variation in borders or rounds, complete the last yarn-over of the final stitch in the old color with the new color.
- To keep motifs uniform and tidy, block each motif to size before joining.
- Stitch markers can be helpful for locating corners when joining motifs.
Detailed Crochet Pattern
Overview of Motif Structure
This square motif is worked from the center outwards in five main parts:
- 1. Center Eyelet Grid
- 2. Petal/Loop Corners
- 3. Side Bars and Mid-Motif Eyelets
- 4. Scalloped Lacy Edge
- 5. Joining Motifs
Follow the instructions below for each motif; then, join to create the bedspread.
Part 1: Center Eyelet Grid
- Begin with MR (or ch 6 and join with sl st to form a ring).
- Round 1: Ch 3 (counts as dc), dc in ring, *ch 2, 2 dc in ring*; repeat from * to * 3 more times (you should have 4 dc pairs and 4 ch-2 spaces). Join with sl st to top of 1st ch-3. (8 dc, 4 ch-2 sps)
- Round 2: Sl st into next dc, sl st into next ch-2 sp, ch 3 (counts as dc), dc in same sp, ch 2, 2 dc in same sp, *ch 2, (2 dc, ch 2, 2 dc) in next ch-2 sp*; repeat from * to * 2 more times, ch 2. Join with sl st to 1st ch-3. (16 dc, 8 ch-2 sps)
- Round 3: Sl st next dc & ch-2 sp. Ch 1, sc in same sp, ch 2, sc in next ch-2 sp, ch 2, *sc in corner ch-2 sp, ch 2, sc in next ch-2 sp, ch 2* repeat all around, sl st to first sc to join. (8 sc, 8 ch-2 sps)
Note: This creates an 8-pointed center with spaces for lacy joining petals and bars.
Part 2: Four-Corner Petal/Loop Motifs
- Sl st into next ch-2 sp (corner). Corner Petal: Ch 4, tr in same sp, ch 3, tr in same sp, ch 4, sl st in same sp. This forms one large petal/loop at the corner.
- *Sc in next ch-2 sp (side), ch 3, sc in next ch-2 sp (corner). Ch 4, tr in same sp, ch 3, tr in same sp, ch 4, sl st in same sp*—repeat from * to * 3 more times.
- Fasten off or sl st to first corner to complete round. (4 corner loops, 4 ch-3 side arches)
Part 3: Side Bars and Mid Motif Eyelets
- Attach yarn to any side ch-3 arch with an sc.
- (a) Ch 2, dc in next sc (in ch-2 side sp of prev round), ch 2, sc back in same ch-3 arch. For a more textured look, you may use a cluster (dc, ch 2, dc) in the sc on each side arch.
- (b) In each corner, work: (sc, ch 3, sc) in the ch-4 loop of the previous round. This stacks a small loop/point at each corner.
- Repeat (a) and (b) around. Join with sl st to first sc.
Part 4: Scalloped Lacy Edge
- Round 1: Sl st into next ch-2 sp before a corner. Ch 3 (counts as dc), 4 dc in same sp, skip next st, sc in next ch-3 corner loop, skip next st, 5 dc in next ch-2 sp (side scallop), skip next st, sc in next ch-3 loop, skip next st, 5 dc in next ch-2 sp (next to corner), sc in corner ch-3 sp. Continue this sequence around, creating a scalloped effect along the sides with peaks at the corners.
- Round 2 (optional for thicker border): Ch 1, *sc in each st along scallops, 3 sc in each corner scallop center*, join to first sc. This rounds out the piece and creates a neater edge for joining.
Part 5: Joining the Squares
There are two main joining options. Choose your preference:
- Sewn Join: Lay motifs edge to edge with right sides up. Using a tapestry needle and matching yarn, use the mattress stitch or slip stitch seam to connect through the outer loops of the edge stitches, keeping the join flat and decorative.
- Crochet Join-As-You-Go: On the final round of your motif, substitute sc joins at every corner and side scallop for a slip stitch into matching spaces on the neighboring motif(s). This fuses motifs as you go while keeping the lattice effect.
As you join, line up corners, making sure every motif’s corners and sides remain aligned and flat.
Assembly and Finishing
- Weave in all tails securely on the underside of motifs using a tapestry needle.
- Block each square individually if desired—pin to size and steam lightly to set shape.
- After joining all motifs together, lay the full bedspread flat and block again gently, reshaping motifs if needed to maintain squareness and flatten joins.
- Optional: Add a final border around the completed bedspread—work one or two rounds in sc or a shell border, easing in any ripples, for a framed finish.
Customization Ideas
- Color Variation: Use a gradient or alternating colors for each square, or add a contrasting border for each motif for a modern twist.
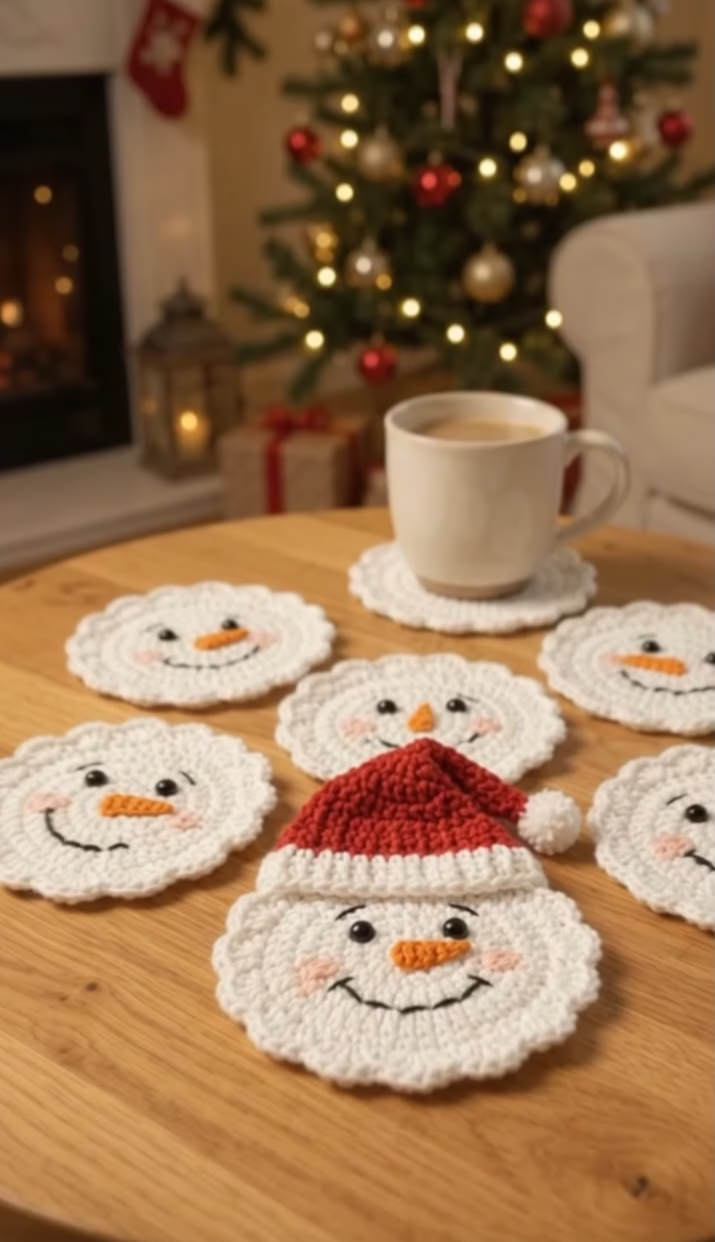
- Project Ideas: Single motifs make beautiful coasters, placements, or wall hangings. Join fewer for a throw blanket, table runner, or pillow cover as shown in the inspiration image.
- Yarn Choices: Try bamboo, linen, or a silk blend for additional drape and sheen; use acrylic for easy care and budget-friendly options.
- Sizing: Make larger or smaller motifs by increasing or decreasing hook sizing or using different weights of yarn; combine with solid squares for variety.
Troubleshooting Tips
- Curling: Motifs may curl if the center is too tight—start looser or steam block motifs to relax shape.
- Uneven Edges: Use stitch markers at motif corners to keep rounds symmetric. Block each motif before joining.
- Motif Size Inconsistency: Check gauge and tension periodically, especially after making several motifs.
- Loose Color Changes: Carry new colors carefully up rows or always change color in last yarn-over of a round for crisp transitions.
- Uneven Tension: Practice with swatches and pause to relax hands if tension gets tight or loose.
Care Instructions
- Hand wash or machine wash cold on gentle cycle, ideally in a mesh bag to minimize stretching.
- Use gentle or mild detergent.
- Lay flat to dry and reshape as needed while damp.
- Do not wring or hang when wet to avoid distortion.
- Block after each wash if desired to maintain shape and crispness.
Final Notes
Creating a heirloom-style lacy bedspread is a labor of love—take your time, check stitch counts at the end of each round, and block pieces for a professional finish. Use the provided motif description as your visual guide and don’t hesitate to add your own creative touches. Enjoy the process, and soon you’ll have a stunning, handcrafted bedspread to treasure or gift!