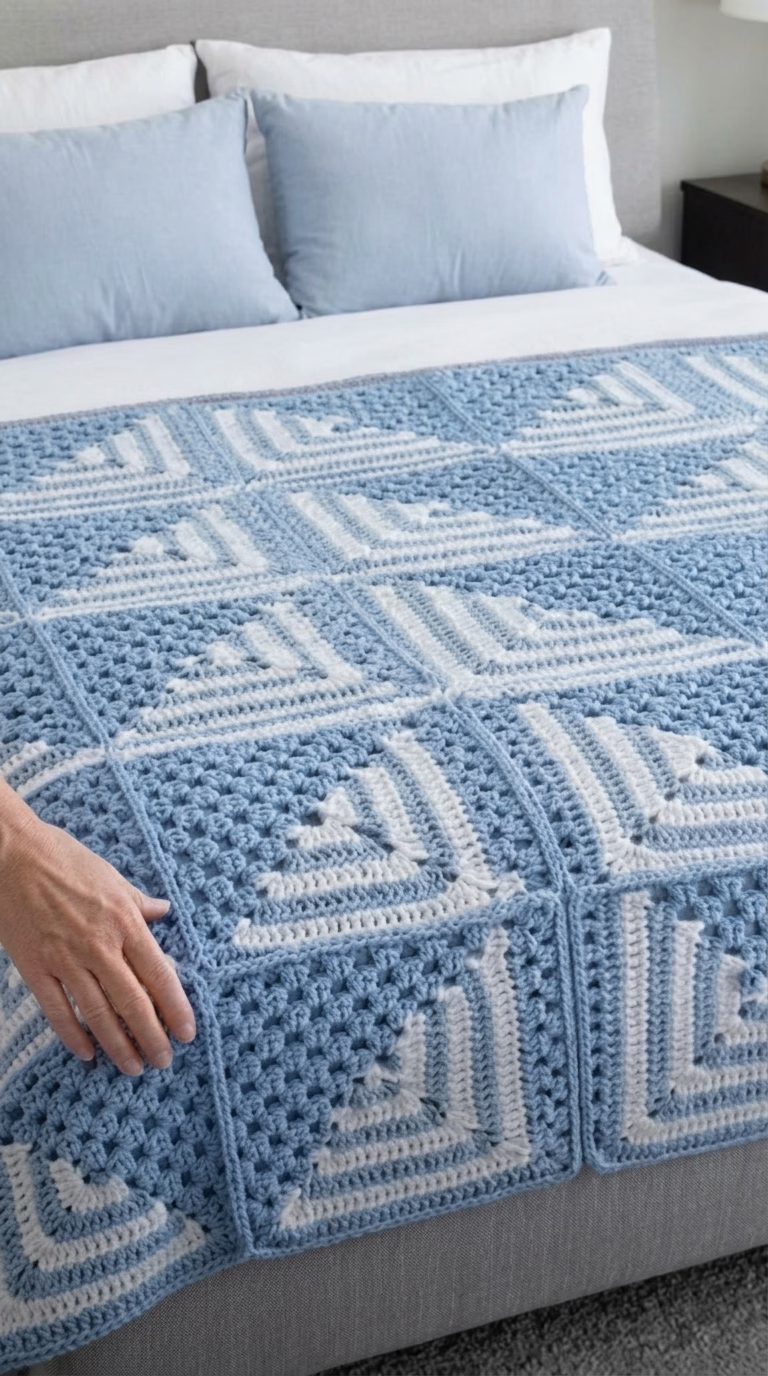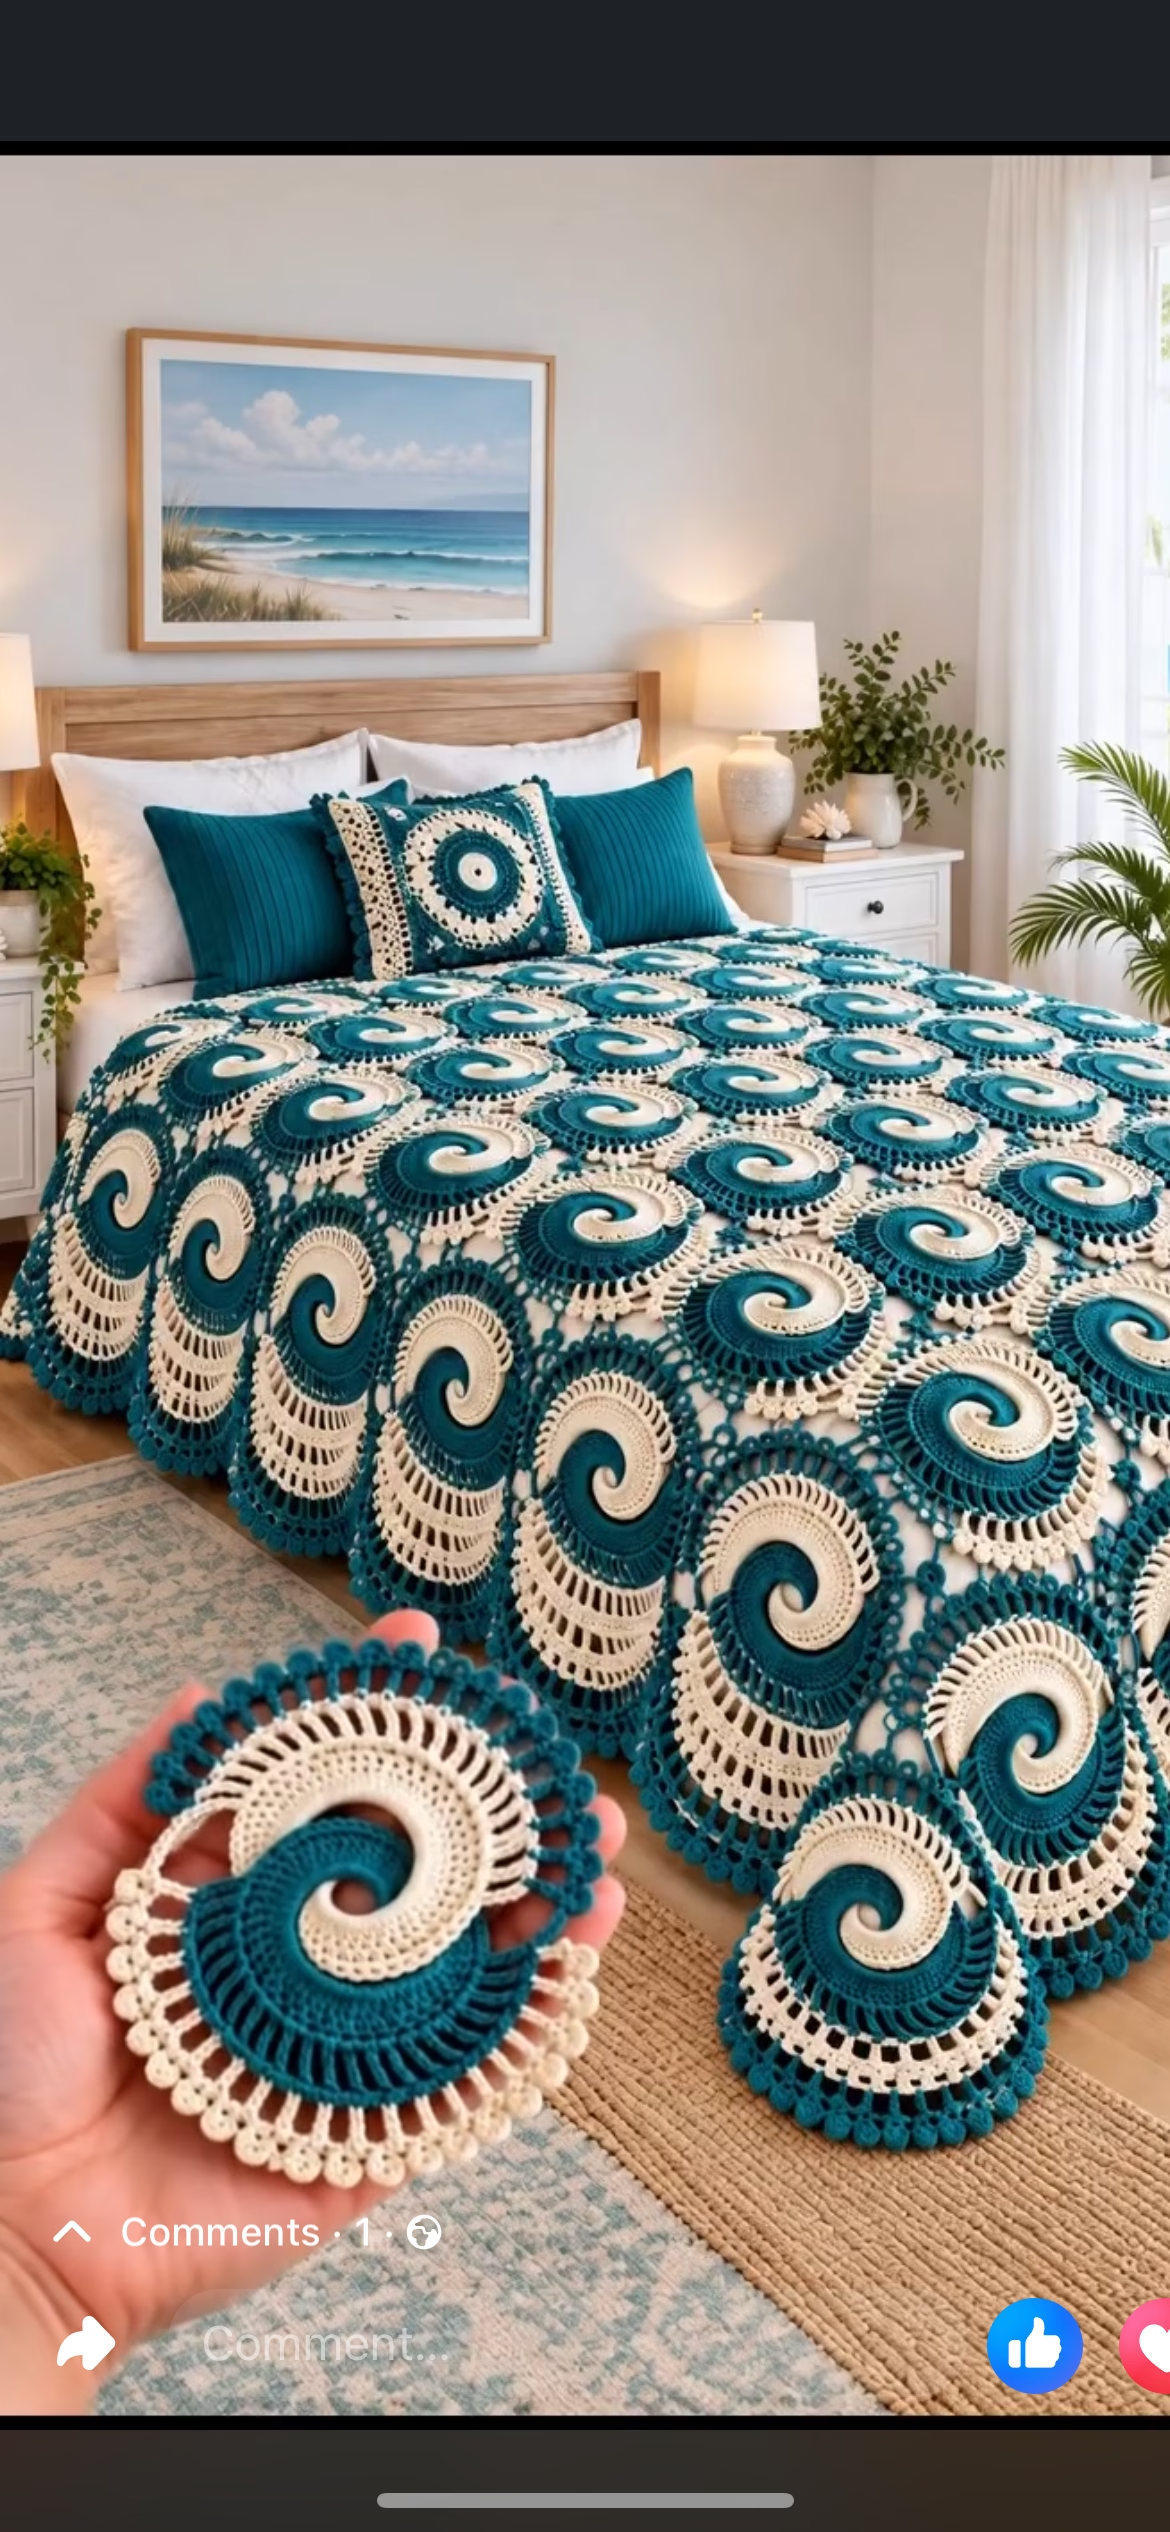
The Ocean Swirl Motif Crochet Blanket is a striking statement piece that brings a refreshing, coastal feel to any room. This blanket is created from multiple individual swirl motifs, each featuring a compelling spiral pattern in alternating teal and cream shades, reminiscent of swirling ocean currents and rolling waves. When joined together, these motifs form a mesmerizing, visually captivating blanket with incredible texture and depth.
Each motif combines geometric precision with organic flow, producing a two-tone spiral that radiates from a tightly wound center into a lacy, scalloped border. The three-dimensional texture from raised stitches and the alternating color bands make this blanket both cozy and visually dynamic. Perfect as a bedspread, throw, or decorative accent, this piece also looks stunning as a single motif repurposed into a cushion cover, table centerpiece, or wall art. The project is engaging, technical, and satisfying for those who love modular crochet.
Project Overview
The blanket is worked by crocheting multiple individual spiral motifs in two alternating colors (teal and cream). Each motif is constructed by working partial rounds in short rows to achieve the swirl effect, then expanding outward with intricate openwork and a delicate scalloped border. The motifs are joined as you go or sewn together in the final assembly. The striking interplay of solid and lacy sections, along with thoughtful color changes, gives this pattern its unique flair.
Skill Level
Intermediate. This project involves working in the round, changing colors, shaping with increases, and some experience with motif construction and joining is very helpful. The swirling shape requires focused attention to stitch placement and short row turning. The openwork and border involve varied stitch heights for texture and effect. While not a beginner project, adventurous advanced beginners might enjoy the challenge.
Materials
- Yarn: Worsted weight (Category 4) 100% cotton or cotton/acrylic blend recommended for durability and stitch definition.
- Color A (Teal): Approximately 900g (about 1,900 yds) for a large blanket (add more for drape or size customization).
- Color B (Cream): Approximately 900g (about 1,900 yds).
- Crochet Hook: 5.0 mm (H-8) or size needed to obtain gauge.
- Tapestry needle for sewing motifs and weaving in ends.
- Scissors
- Stitch markers: Useful for marking short row turns and motif joining spots.
- Blocking mats and pins (highly recommended for best results).
Finished Size
Each finished motif measures approximately 15 cm (6 in) across at the widest point. The example blanket shown is about 210 cm x 165 cm (83 x 65 in) and is composed of 12 motifs wide x 11 motifs long (132 motifs), with some half-motifs to fill edges. The blanket size can be adjusted by adding or subtracting motifs.
To resize: Make more or fewer motifs as needed. Increase or decrease the number of rows/rounds for each motif if a larger or smaller motif is desired.
Gauge
Gauge is approximately 16 dc and 9 rows = 10 cm/4 in measured across solid parts of the motif after blocking. Because of motif construction and openwork, exact gauge is less critical, but consistency between motifs is important. Slight gauge differences can alter overall size.
Stitches and Abbreviations
- ch – chain
- sl st – slip stitch
- sc – single crochet
- hdc – half double crochet
- dc – double crochet
- tr – treble (triple) crochet
- inc – increase (2 stitches in same st)
- dec – decrease (work 2 stitches together)
- RS – right side
- WS – wrong side
Important Pattern Notes
- Chains at the beginning of rounds/rows count as stitches unless otherwise stated.
- Always join rounds with a sl st unless instructed otherwise.
- For best color transition, finish the last stitch of the old color with the new color.
- Motifs are worked in short rows (‘partial rounds’), turning at indicated points to create the swirl effect.
- Work with RS facing unless otherwise stated. Motifs can be blocked for consistent size and shape before joining.
- Use stitch markers to keep track of row/round starts, short row turns, and motif edges for joining.
Detailed Crochet Pattern
Part 1: Spiral Center
- With Color A (Teal), make a magic ring (MR).
- Round 1 (RS): Ch 2 (counts as hdc), work 11 hdc in MR. Do not join; you will begin working in a spiral/short row. (12 hdc)
- Short Row 2: Ch 2, turn. Work 2 hdc in each of next 5 sts. Leave remaining sts unworked, turn. (10 hdc)
- Short Row 3: Ch 2, turn. (hdc, inc in next st) across (alternating 1 hdc, 2 hdc in next), in the next 10 sts. Turn. (15 hdc)
- Short Row 4: Ch 2, turn. (2 hdc, inc in next st) across, in next 15 sts. Turn. (20 hdc)
- Fasten off Color A.
This forms the teal half of your swirl center. Now repeat Short Rows 2–4 with Color B (Cream) into the UNWORKED sts from your original MR, mirroring the first side. At the end of this step, you will have two spiraling lobes hugging the magic ring center.
Part 2: Growing the Spiral (Solid Bands)
Turn your motif so RS is facing. Each color segment will grow individually in short rows, enhancing the swirl.
-
Attach Color A at the last Color A st of Short Row 4.
- Row 5A: Ch 2, turn. Work hdc in each st to end of A segment. Place marker. (20 hdc)
- Row 6A: Ch 2, turn. (hdc in next 3, inc in next) across segment. Turn. (25 hdc)
- Row 7A: Repeat Last Row, placing increases where previous increases fall to maintain the curve. End with sl st, fasten off. (30 hdc)
-
Repeat for Color B, picking up unworked stitches and mirroring increases:
- Attach Color B, work 3 increasing short rows as above (ending with 30 hdc on the Cream side).
- Fasten off and weave in the ends neatly at this stage if desired.
Helpful Note: Always increase at the outer curve edge to encourage the swirl. If spiral is tight, skip an increase every few rows.
Part 3: Openwork Arch Section
This section adds the dramatic spoked, openwork look around the spiral highlight.
-
With Color B, attach yarn at the outer edge of cream segment.
- Row 1: Ch 4 (counts as tr), *skip next st, tr in next st, ch 1; repeat from * across Cream side (you should have 15–18 tr with ch-1 sps). Fasten off.
- With Color A, repeat around the teal side, matching the number of tr and spaces. Fasten off.
Tip: Keep ch-1 spaces uniform and tension even for a clean arch appearance.
Part 4: Decorative Border (Scallops)
-
With Color B, join to any outer tr post on Cream side.
- *Ch 2, work 3 dc in next ch-sp or tr, ch 2, sl st in next tr post; repeat from * around half cream side.
-
Switch to Color A, continue the same scallop pattern around Teal side.
- Try for consistent placement so scallops line up motif to motif when joined.
You now have a finished swirl motif with a lacy, rounded border.
Part 5: Motif Assembly
- Make the required number of motifs (for a blanket 12 x 11 = 132 full motifs).
- Pin motifs with swirls swirling in the same direction, or alternate if desired for a woven sea-effect.
- Using whipstitch, mattress stitch, or a join-as-you-go method, sew motifs together at the scallop “points” so the openwork arches interlock and lay flat. (Leave some motifs in halves to fill straight blanket edges.)
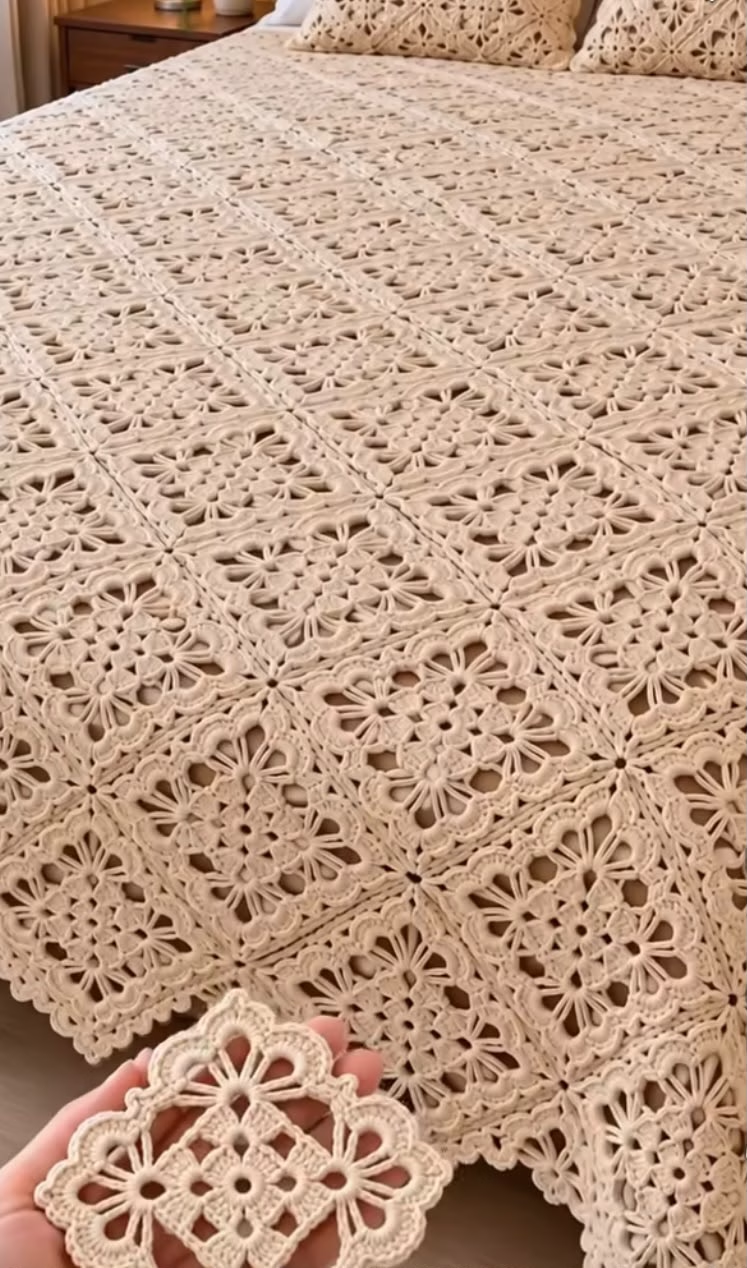
- Make two or three motifs into matching pillowcases by sewing around a pillow form, as shown in the image.
Assembly and Finishing
- Once all motifs are joined and lay flat, weave in all tails gently with a tapestry needle, burying ends in color-matched sections.
- Place the finished blanket on blocking mats, mist lightly, and gently pin out each scallop for a uniform border. Allow to dry fully for best results.
- If any sections seem pulled, reblock that portion and gently massage into shape.
- The motifs naturally want to spiral; blocking ensures an even and flat finished piece.
Customization Ideas
- Swap the teal and cream for charcoal and silver, coral and sand, or multi-colored rainbow for a playful twist.
- Use DK weight yarn for a lighter throw, or chunky yarn for extra coziness (adjust hook size and motif count).
- Make single motifs or joined sets into placemats, wall hangings, or pillow covers for a beachy/coastal theme.
- Alternate swirl direction of motifs when joining, for extra visual interest.
- Add metallic thread with the border round for a touch of shimmer.
Troubleshooting Tips
- Piece curling or buckling: Ensure even increases on outer curves; block finished motifs well.
- Uneven edges: Carefully count scallops and keep tension uniform at joins; block before joining if possible.
- Motif too large/small: Adjust hook size to match gauge; check stitch counts in each segment.
- Loose color changes: Always finish last stitch of previous color with the new color; weave in as you go.
- Uneven tension: Practice the openwork arches and scallop stitches on a practice swatch for consistency.
Care Instructions
Hand wash or machine wash cold on gentle cycle. Lay flat to dry, reshaping and smoothing the motifs while damp. Avoid bleach. Lightly steam block to reshape before use if needed.
Final Notes
Count your stitches carefully at each stage to maintain the curve and overall size of the motifs. Adjust your tension as needed, especially on the openwork and border rounds for consistency. Use the finished motif image as a visual guide for color placement, swirl direction, and joining alignment. With care, you’ll create a visually stunning blanket that captures the movement and tranquility of ocean waves in every swirl.