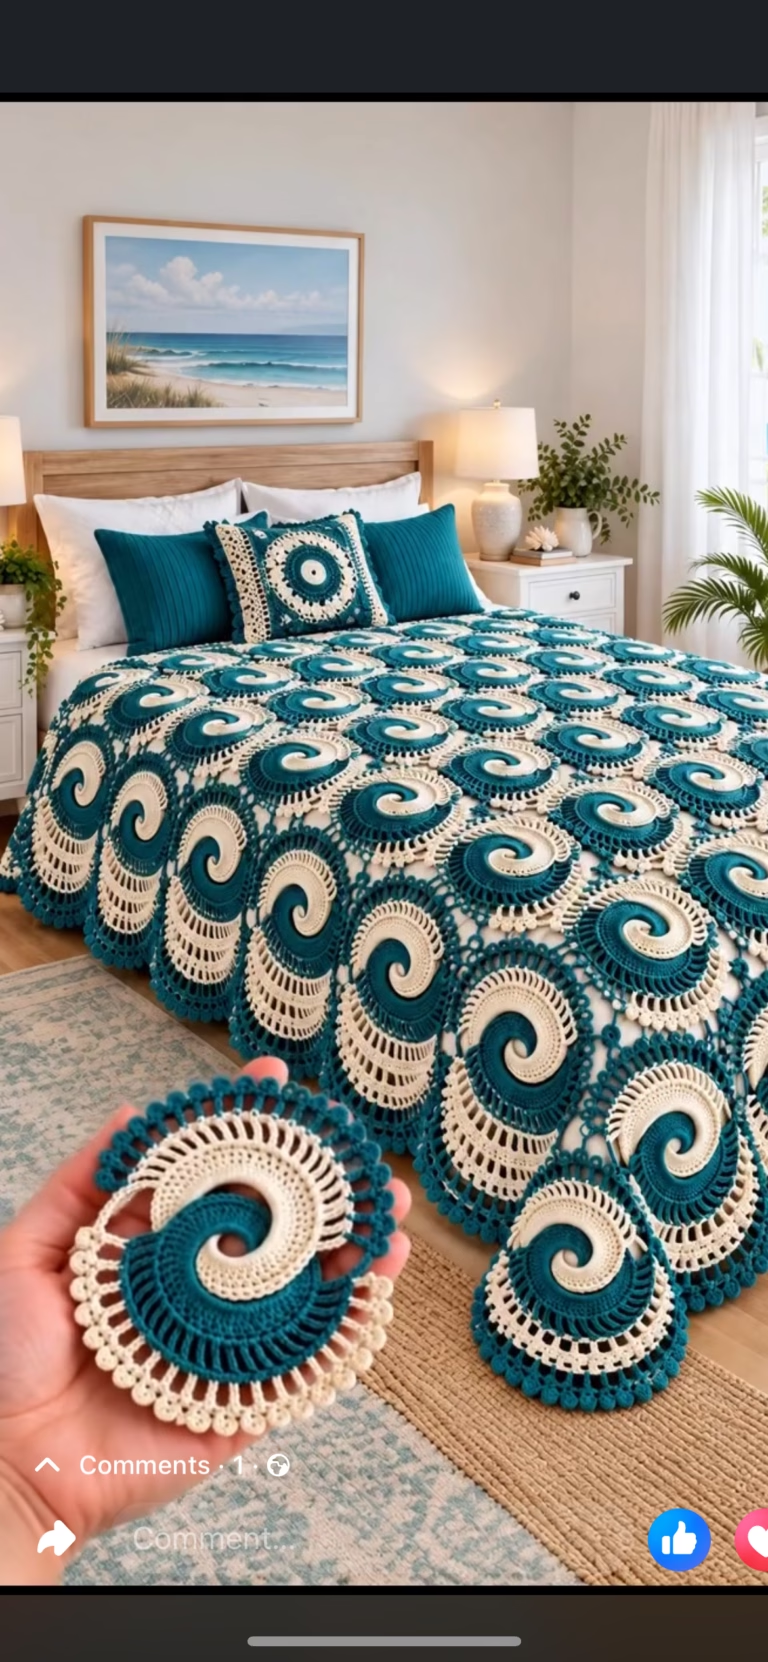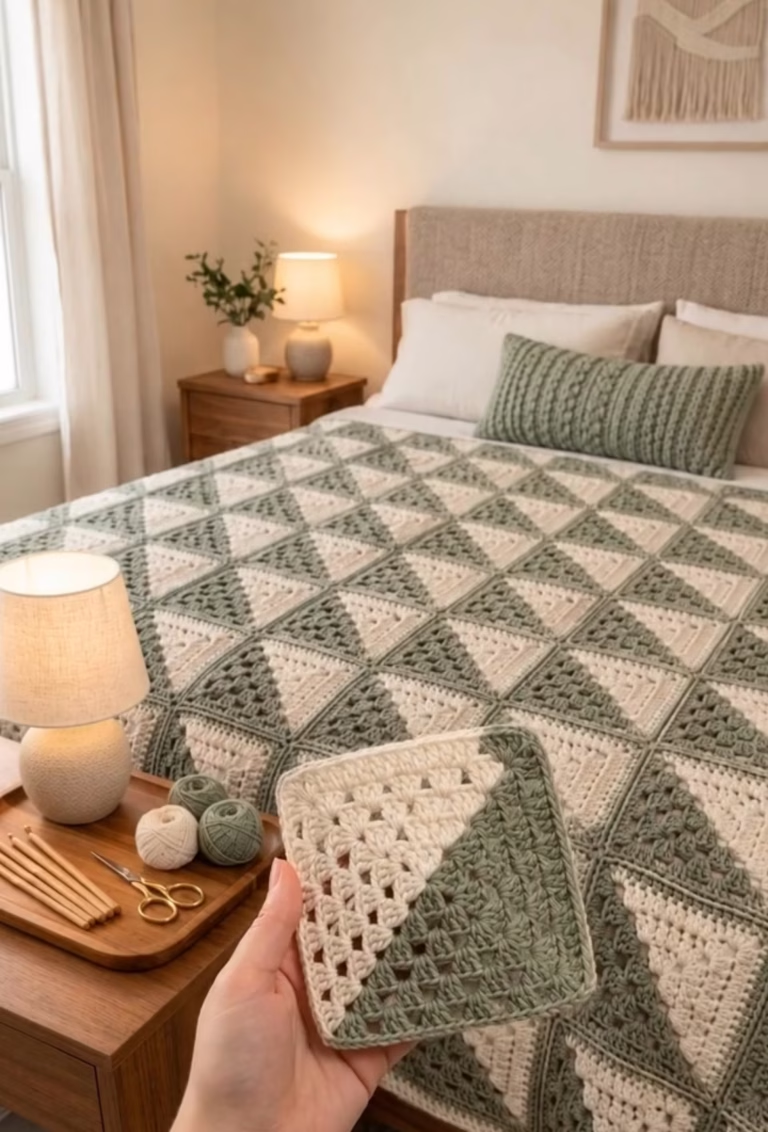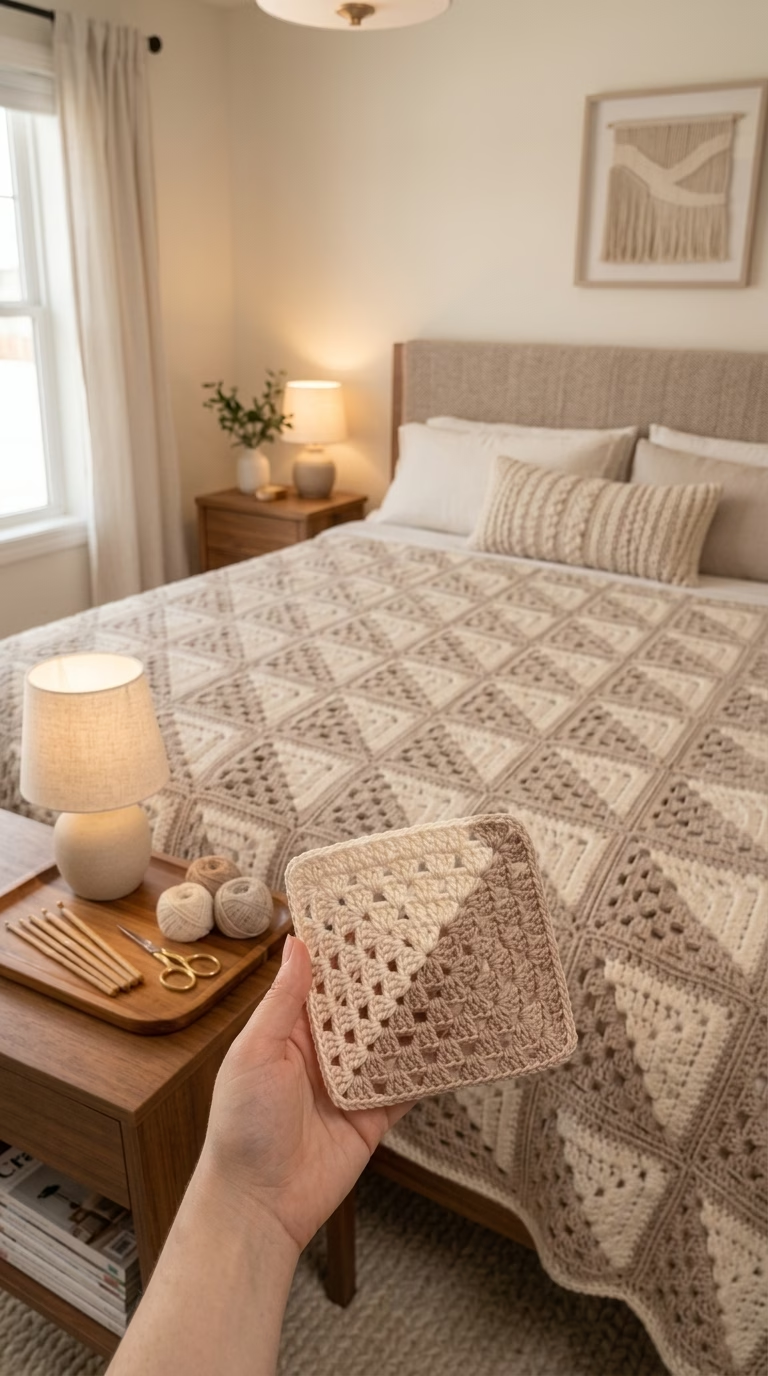
Granny square blankets have long held a place of honor in the world of crochet, but the geometric, two-tone design featured in this beautiful project puts a refreshing modern spin on the classic motif. Each square pops with clean diagonal color blocking in neutral shades such as oatmeal and taupe, all coming together to form a striking, elegant blanket that’s at home in any cozy living space or minimalist bedroom. The piece is visually sophisticated thanks to its subtle color palette, crisp borders, and uniform joining, making it a perfect statement throw or full bedspread.
This project uses a gentle play of color contrast: Each granny square is divided diagonally, half in a light beige and half in a tan or taupe, with a border that unifies the finished effect. The texture is classic granny — slightly open, soft, and squishy — with just enough structure to keep its shape. This motif can find a place as a blanket, pillow cover, wall hanging, or even a stylish bag, making it one of the most versatile crochet projects around. The clean geometry appeals to contemporary tastes, while granny technique ensures timeless comfort. Plus, stitching each square individually means you can take this project on the go!
Perfect for anyone craving a repetitive, mindful make, this blanket allows you to experiment with color matching and offers infinite possibilities for arrangement. Read on for a detailed, original step-by-step pattern to recreate a visually similar two-tone granny square blanket.
Project Overview
This blanket is constructed from many identical squares, each worked in the round using classic granny stitch clusters. Each square starts with one color, then switches to a second color at the diagonal to create a split effect. Squares are crocheted separately, edged with a border, then joined together in tidy rows and columns. The finished blanket has a soft drape and modern, graphic appeal.
Skill Level
Advanced Beginner. You should be familiar with basic stitches (especially double crochet), crocheting in the round, changing colors cleanly, and sewing or joining pieces. The geometric color split is simple when instructions are followed, but joining and arrangement require some experience.
Materials
- Yarn: Worsted weight (category 4) yarn in two main contrasting neutral shades.
- Color A (Light Beige): approx. 450g (16oz) for a large throw (smaller amounts for smaller projects).
- Color B (Taupe/Tan): approx. 450g (16oz).
- Color C (Cream or other neutral): approx. 200g (7oz) for border and joining (optional).
- Suggested Fiber: 100% acrylic, cotton, or a blend — choose something soft and easy to care for.
- Crochet Hook: US size H-8 (5.0 mm) or size needed to obtain gauge
- Tapestry Needle (for weaving in ends and sewing pieces)
- Small Scissors
- Stitch Markers (helpful for marking color changes and square corners)
- Measuring Tape (to check size as you go)
Finished Size
Each square: Approx. 11 x 11 cm (4.25 x 4.25 in)
For a queen-sized blanket (as pictured): Approx. 190 x 220 cm (75 x 87 in) — using about 15 x 20 squares
Adjust the finished size by making more or fewer squares and/or adjusting the number of rounds per square. You can also change the joining method to add or subtract width.
Gauge
One finished square = approx. 11 x 11 cm (4.25 x 4.25 in) after light blocking.
Gauge is not critical, but slight variations may affect the blanket’s final size and yarn estimates.
Stitches and Abbreviations
- ch – chain
- sl st – slip stitch
- sc – single crochet
- dc – double crochet
- sp – space
- st – stitch
- beg – beginning
- RS – right side
Important Pattern Notes
- Ch 3 at the beginning of a round counts as the first dc unless otherwise indicated.
- Squares are worked in joined rounds, not continuous rounds.
- Always join rounds with a sl st to the top of beg ch 3.
- Change color at corner after completing half the square; see specific instructions below for the split-diagonal change. Fasten off and join new color with sl st as directed.
- Keep RS facing for all rounds.
- Use stitch markers to help identify corners and color change joins, especially for the first few squares.
Detailed Crochet Pattern
Part 1: Make the Two-Tone Granny Square
Foundation and Color Preparation:
- Select a neutral, cohesive color palette for best effect. Sample uses a soft light beige (A) and a deeper taupe (B).
- Each square will be made by working 4 full rounds with Color A, then 4 rounds with Color B split diagonally.
Granny Square Motif (Diagonal Color Split)
- With Color A, ch 4, join with sl st to first ch to form a ring (or start with a magic ring if preferred).
- Round 1 (Color A): Ch 3 (counts as dc), 2 dc into ring, ch 2, [3 dc into ring, ch 2] three times, join with sl st to top of beg ch 3. (12 dc, 4 ch-2 corners)
- Round 2 (Color A): Sl st across to the next ch-2 corner. Ch 3, (2 dc, ch 2, 3 dc) in corner sp, *ch 1, (3 dc, ch 2, 3 dc) in next corner sp* 3 times, ch 1, join to top of beg ch 3. (24 dc, 4 ch-2 corners, 4 ch-1 sides)
- Round 3 (Color A): Sl st to corner sp. Ch 3, (2 dc, ch 2, 3 dc) in corner sp, *ch 1, 3 dc in next ch-1 sp, ch 1, (3 dc, ch 2, 3 dc) in next corner* 3 times, ch 1, 3 dc in next ch-1 sp, ch 1, join. (36 dc, 4 ch-2 corners, 8 ch-1 sides)
- Round 4 (Color A): Repeat round 3, adding 1 group of 3 dc per side. In corners, (3 dc, ch 2, 3 dc); for each ch-1 sp on sides, work 3 dc in sp. Join. Fasten off Color A.
- Diagonal Color Change: Fold the square to visually locate the diagonal from any corner to its opposite. Attach Color B at the diagonal corner (where Color A ended).
- Rounds 5–8 (Color B): With RS facing and Color B, join to ch-2 corner at diagonal. *Ch 3, (2 dc, ch 2, 3 dc) in corner sp, (ch 1, 3 dc in each ch-1 sp) across to next corner*, repeat this side until you reach the corner where you began; you will only be working Color B into half the square (from the diagonal corner around to the opposite diagonal corner). At the end of each Color B round, sl st to top of beg ch 3, ch 1, turn if needed to keep RS facing.
- Tip: After finishing a round with Color B, always check that you didn’t overlap into the Color A area. Color B should exactly form a triangle over half the square. Weave in loose ends now to keep the work tidy.
- Optional – Border (Color C): After completing 8 total rounds (4 in each color), attach Color C (or A or B) to any corner, ch 1, (sc, ch 2, sc) in corner, sc in each dc and ch-1 sp along all sides, working (sc, ch 2, sc) in each corner. Join with sl st. Fasten off and weave in ends.
Make as many squares as needed for your desired blanket size. For a standard bed throw (shown), make 15 rows of 20 squares (300 squares total).
Part 2: Joining the Squares
Choose a join that lays flat and neat. Here are step-by-step instructions for a slip-stitch join:
- Lay out all your squares in your preferred arrangement, alternating the direction of the color blocks for a diamond or checkerboard effect.
- With RS facing up, place two squares together, aligning edges. With matching border color and hook, insert hook through both outer loops at corner, pull up a loop, sl st, then sl st through both loops of each pair of stitches across the edge.
- At the next corner, fasten off, leaving a tail to weave in. Repeat for all rows — first join all squares into rows, then join rows together.
- Alternatively, sew together with a whipstitch using a tapestry needle for a more subtle seam.
Part 3: Blanket Border
- Once all squares are joined, attach a border yarn (Color C or any desired contrast) to any corner.
- Round 1: Ch 1, (sc, ch 2, sc) in corner, sc evenly around all sides, working (sc, ch 2, sc) into each joining point at a corner. Join with sl st to first sc.
- Optional Rounds 2–4: You may add extra rounds of sc or decorative stitches (such as crab stitch/reverse sc or picot edging) to widen the border and give a polished look. Each round works (sc, ch 2, sc) in each corner.
- Fasten off and weave in all loose ends.
Assembly and Finishing
- Lay out your squares before joining to ensure a visually pleasing arrangement and consistent color flow throughout the blanket.
- Join all rows in one direction first, then the opposite direction for best alignment.
- Weave in all loose ends with a tapestry needle on the WS, securing the yarn so it won’t work free with use or washing.
- Shape the blanket gently by laying it flat. Block lightly by misting with water and smoothing to desired dimensions. Allow to dry flat to set the shape and stitches.
- Keep all seams facing the same direction for a tidy back; use a border in a solid color to frame your work.
Customization Ideas
- Color Play: Use bold or pastel colors for a modern geometric look. Try alternating a third or fourth color in random squares.
- Yarn Choices: Wool for warmth, cotton for a summer-weight throw, or use a luxe plant-based fiber blend.
- Motif Uses: Individual squares make lovely coasters, pot holders (with a dense border), pillow covers (join fewer squares), or wall hangings (mount on canvas or dowel).
- Sizing: Make more or fewer squares for baby blankets, lap throws, or super-king bedspreads.
- Fun Borders: Add tassels or fringe for a boho look, or a lacy border for a vintage touch.
Troubleshooting Tips
- If your squares curl, your tension may be too tight; use a larger hook or block squares before joining.
- If edges are wavy or uneven, check stitch counts in each round and use consistent tension.
- Motif too large or small? Adjust hook size or yarn weight accordingly, and check gauge before making a whole blanket’s worth of squares.
- Loose color changes? Always fasten off at the corner, and when weaving in ends, split the yarn tail through nearby stitches for a secure hold.
- Uneven tension? Pause to relax your hands; consistent tension is easier with practice and smooth, slippery yarn.
Care Instructions
- Machine wash on gentle in cold water (for acrylic/cotton); dry flat to maintain shape.
- Never bleach. Use a gentle detergent. Avoid high heat if tumble drying; air dry is safest.
- Block as needed after washing to keep edges neat and corners crisp.
Final Notes
Take your time with the first few squares to get comfortable with the diagonal color split — stitch markers can help with accuracy. Always double-check your stitch counts after each round for consistency. Adjust yarn and hook size to suit your desired texture and drape. Use the photo as a visual reference for color placement and arrangement. Most importantly, enjoy the process: Every square brings you closer to a unique, heirloom-quality piece!